
This guide dives into practical, easy-to-implement solutions for common gluten-free baking woes, ensuring your results are consistently moist and delicious without complex techniques. If your gluten-free creations often turn out dry and crumbly, this article will equip you with simple adjustments for perfect texture. We’ll uncover the secrets to transforming your bakes from disappointing to delectable.
The Disaster: From Dream Bake to Crumbly Nightmare
My Own Gluten-Free Fiasco: A Tale of Crumbles and Disappointment
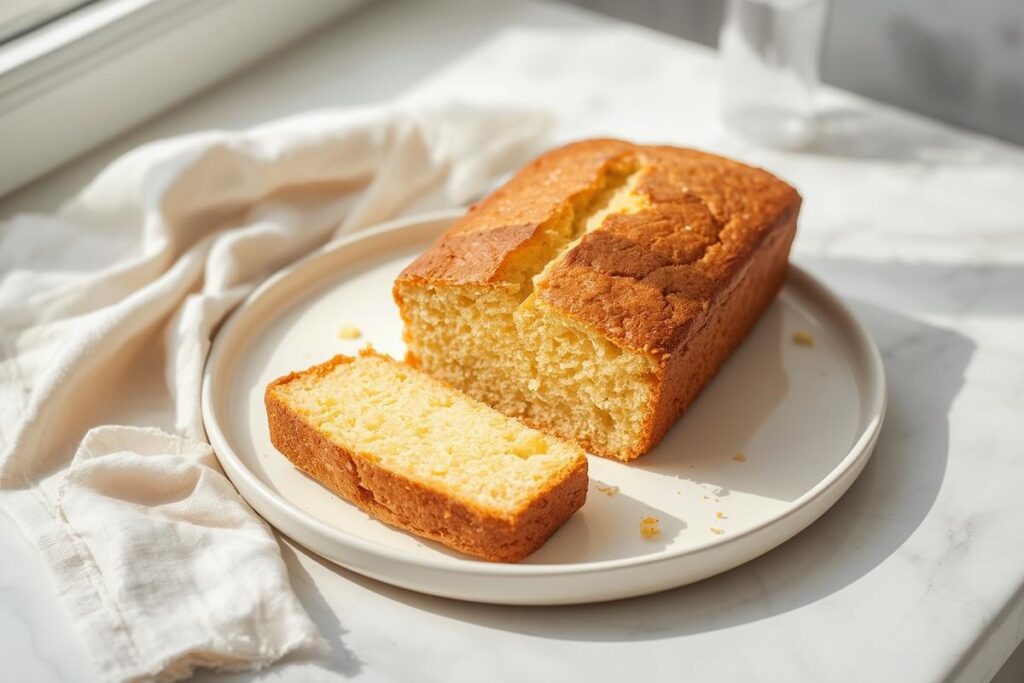
Just last month, I decided to whip up a batch of glorious gluten-free lemon poppy seed muffins. I envisioned light, fluffy domes bursting with citrusy zest, a perfect accompaniment to my morning coffee. I carefully measured, mixed, and poured the batter, the kitchen filling with hopeful aromas. But when they emerged from the oven, cooling on the rack, a sad truth began to dawn. As I reached for the first one, it crumbled right in my hand, scattering tiny pieces across the counter like lemon-scented confetti. The texture was akin to flavored sawdust – utterly dry, dense, and falling apart with the slightest touch. My heart sank faster than a deflated soufflé!
The All-Too-Common GF Baking Lament
That crumbly muffin experience is one I’ve heard countless times from fellow home bakers. The frustration is real: you follow a recipe, hoping for that tender, springy crumb, only to be met with a dry, stiff, or entirely disintegrated bake. It’s disheartening to put in all that effort only to end up with something that barely holds together. Many gluten-free recipes promise wonders, but the reality can often be a crunchy, chalky disappointment. This shared lament sparked my own journey to truly understand why gluten-free bakes betray us and, more importantly, how to fix them.
Why Your Gluten-Free Bakes Fall Apart (The Root Causes)
Understanding why your gluten-free goodies are turning into sad, dry crumbles is the first step to baking success. It’s not magic; it’s science, and once you grasp these fundamental differences, you’ll be well on your way to tender, moist results.
Misunderstood Flours: More Than Just Wheat Substitutes
The biggest culprit often lies in the very foundation: gluten-free flours. Unlike wheat flour, which contains gluten (a protein that forms an elastic network when hydrated and kneaded), individual gluten-free flours don’t offer the same structure. They absorb liquids differently and often contain more starch or fiber, which can lead to a drier final product if not balanced correctly. Think of it like trying to build a house with just bricks versus bricks and mortar – you need both for stability!
The Moisture Drain: GF’s Thirst for Liquid
Many gluten-free flours are incredibly thirsty. Flours like rice flour, oat flour, and even some almond flours can soak up a lot more liquid than their wheat counterparts. If your recipe doesn’t account for this increased absorption, your batter will be too dry, and your final bake will follow suit. It’s like leaving a sponge out in the sun – it just dries right out.
Binding Blues: The Missing Gluten Structure
Gluten isn’t just for elasticity; it’s a powerful binder. It holds baked goods together, creating that lovely chew and preventing crumbling. Without gluten, we need to introduce other ingredients that can mimic its binding capabilities. Without these “glue” ingredients, your bakes will simply disintegrate.
Overbaking & Temperature Traps
Gluten-free items tend to bake faster and can dry out much more quickly than traditional baked goods. If you use the same baking times and temperatures as a wheat-based recipe, you’re almost guaranteed to end up with an overbaked, dry, and crumbly result. It’s an easy trap to fall into, but knowing it exists is half the battle!
The Fix: Smart Tweaks for Tender, Moist GF Goodies
Now for the good part – the actionable strategies that will turn your gluten-free baking around! These aren’t complex techniques; they’re smart, simple adjustments that make a huge difference.
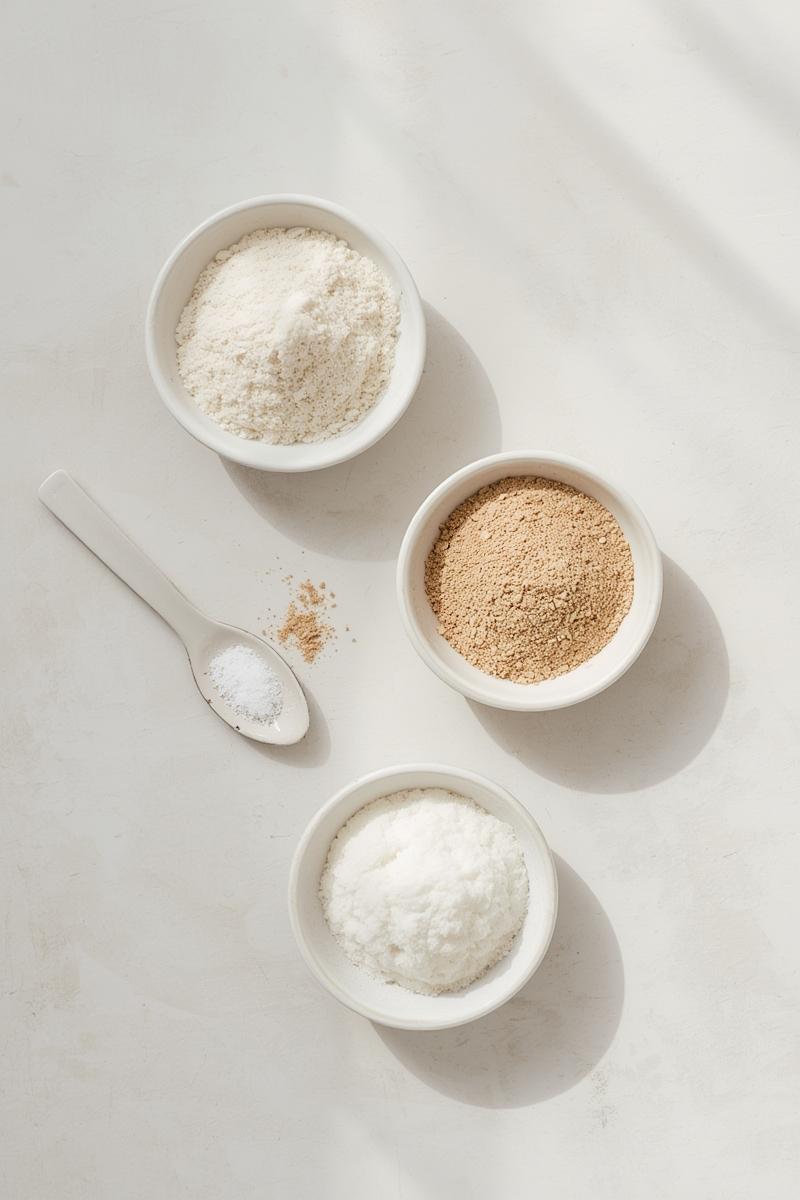
Mastering Your Flour Blend: It’s All About Balance
Instead of relying on a single gluten-free flour, the secret to success is using a blend. You want a mix of starches for tenderness (tapioca, potato starch, cornstarch), protein flours for structure and richness (almond flour, sorghum flour, millet flour), and perhaps some fiber (oat flour, brown rice flour) for flavor and additional binding.
Market Note: When buying gluten-free flours, look for finely milled varieties. Coarsely ground flours can lead to a gritty texture. For xanthan gum, always check the expiry date – fresh binders are more effective! If you’re just starting, consider a reputable pre-made all-purpose gluten-free flour blend that already has these elements balanced, then you can experiment from there!
Hydration Heroes: Boosting Liquid Content
Since GF flours are thirsty, don’t be afraid to add a little extra liquid. This could mean an additional tablespoon or two of milk (dairy or non-dairy), water, oil, or even fruit purées like unsweetened applesauce, mashed banana, or pumpkin purée. Yogurt or sour cream also work wonders, adding both moisture and a lovely tang.
Personal Tip: Start by adding an extra tablespoon of liquid, mix, and assess the batter’s consistency. It should be slightly thicker than regular batter but still pourable (for cakes/muffins) or soft and pliable (for cookies).
Binder Brilliance: Replicating Gluten’s Role
To mimic gluten’s binding power, you’ll need a little help.
* Xanthan Gum: This is the most common binder, and a tiny amount (usually ¼ to ½ teaspoon per cup of GF flour blend) is all you need to add elasticity and prevent crumbling. Too much, however, can make things gummy, so measure carefully!
* Psyllium Husk Powder: Another fantastic binder, especially good for bread-like textures. It absorbs a lot of water, so if using it, you might need to increase liquids slightly.
* Flax or Chia Eggs: For every egg a recipe calls for, you can use 1 tablespoon of ground flaxseed meal or chia seeds mixed with 3 tablespoons of water, left to sit for 5-10 minutes until gelled. These add binding, fiber, and moisture. You can find more ideas for high-protein breakfast options, some of which feature eggs, over at Smartly Recipes.
Fat is Your Friend: Adding Richness and Moisture
Fat adds tenderness, moisture, and richness to gluten-free baked goods. Don’t skimp on it! Butter, coconut oil, vegetable oil, sour cream, cream cheese, or even full-fat coconut milk can make a huge difference. These fats coat the starch particles, preventing them from drying out too quickly and contributing to a wonderfully tender crumb.
Personal Tip: Ensure butter and cream cheese are at room temperature for easy, even incorporation into your batter.
Smart Sweeteners: Beyond Just Sugar
Certain sweeteners not only add flavor but also contribute moisture. Brown sugar, honey, maple syrup, and molasses are hygroscopic, meaning they attract and retain moisture. White granulated sugar, while sweet, doesn’t offer the same moisture-retaining qualities. Consider swapping a portion of white sugar for one of these alternatives.
Precision Baking: Temperature, Time, and Patience
Gluten-free baking often benefits from a slightly lower oven temperature (by about 10-25°F / 5-15°C) and shorter baking times. Start checking for doneness 5-10 minutes earlier than the recipe suggests. Look for visual cues: golden-brown edges, a springy center when gently pressed, and a toothpick inserted into the center coming out with moist crumbs, but not wet batter. A completely clean toothpick can often mean it’s already a touch overbaked for GF goods!
The Cool-Down Conundrum: Patience Pays Off
It’s so tempting to cut into a warm bake, but for gluten-free items, cooling completely is crucial. As they cool, the internal structure sets, and the moisture redistributes. Cutting into them too soon can lead to crumbling. Let cakes, muffins, and breads cool fully on a wire rack before slicing. Often, covering them lightly with a clean tea towel while cooling can help trap moisture too.
Prevention is Key: Baking Smart From the Start
Beyond fixing existing problems, adopting a few proactive habits will elevate your gluten-free baking game significantly.
Always Use a Scale: Accuracy is Everything
Flour measurements can vary wildly by volume (cups) depending on how packed they are. For consistent gluten-free results, weighing your flours (and other dry ingredients) with a digital kitchen scale is paramount. Grams don’t lie!
Don’t Rush the Mix: Proper Emulsification
Overmixing gluten-free batter can lead to tough bakes, but undermixing can leave ingredients unevenly distributed, affecting moisture and binding. Mix just until combined, ensuring no dry streaks of flour remain, but resist the urge to keep going. Allowing your batter a moment to truly emulsify will create a better final product. For hearty, comforting meals that don’t require such delicate mixing, you might enjoy recipes like the cheesy ground beef and potato casserole.
Embrace Resting Time: Hydration Happens
For many gluten-free batters, a short resting time (10-20 minutes) before baking can be incredibly beneficial. This allows the various flours and binders to fully hydrate, absorbing the liquids and preventing a dry outcome.
Storage Savvy: Keeping Bakes Fresh
Store your gluten-free baked goods in an airtight container at room temperature for a day or two, or in the fridge for longer. For extended freshness, many gluten-free items freeze beautifully – just wrap them tightly! This helps maintain moisture and prevents them from drying out. Using up all your ingredients efficiently, whether for a morning muffin or a robust sheet pan breakfast, ensures nothing goes to waste.
Ready to Bake with Confidence?
Your New GF Baking Mindset
Conquering dry, crumbly gluten-free bakes might seem daunting at first, but with these smart, easy tweaks, you’ll be well on your way to baking success. Embrace the journey of understanding your ingredients and don’t be afraid to experiment a little. Remember that even experienced bakers have their kitchen mishaps – the key is learning from them!
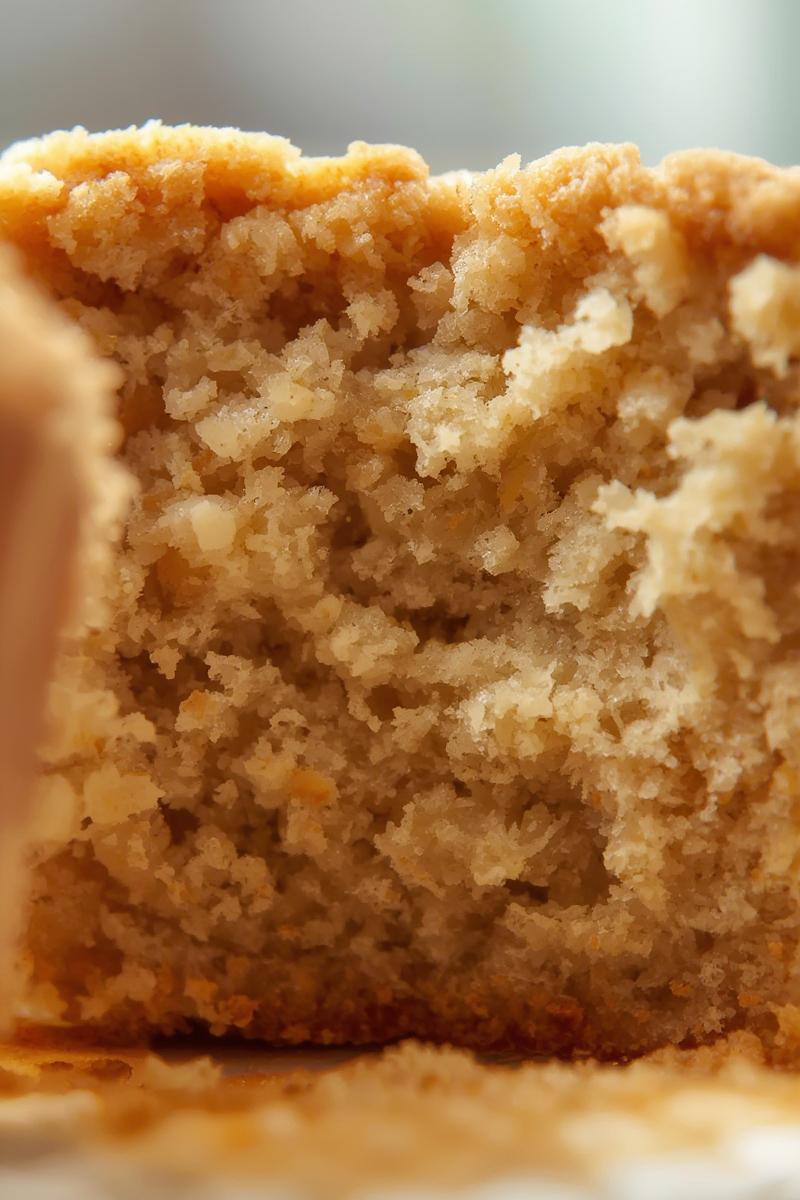
The Joy of Tender, Moist Results
There’s an unparalleled joy in pulling a perfectly moist, tender, gluten-free cake or muffin from the oven, knowing you’ve mastered the art of working without gluten. No more dry disappointments, just delicious results that everyone will love. So, grab your favorite gluten-free flour blend, a few extra liquids, and get ready to bake with renewed confidence! I’d love to know what magic you create – perhaps you’ll add your own unique twist, like a dash of cinnamon or a citrus zest to brighten things up!