
Achieving truly ultra-crispy roasted potatoes in a standard oven, without resorting to an air fryer, is simpler than many home cooks imagine. This guide unveils the kitchen hacks you need to transform your humble spuds into golden, crunchy perfection every time. I’ve heard countless laments about roasted potatoes turning out limp and lifeless, and I promise you, that culinary disappointment ends today.
A recent afternoon, standing in my kitchen, a bag of beautiful Yukon Golds from the farmers’ market on the counter, I craved that satisfying, almost shattering crunch of a perfect roasted potato. It’s a specific sound, isn’t it? The audible crackle when your fork (or, let’s be honest, your fingers!) breaks through that golden crust to reveal a fluffy, steamy interior. It’s this texture that separates a truly great side dish from just another plate of potatoes. I adore my sheet-pan breakfasts, and crispy potatoes are always the star, but reaching that sublime crispness often feels like a gamble. Not anymore! Over the years, through delightful trial and error (and a few gloriously failed batches that still tasted pretty good!), I’ve honed a technique that consistently delivers that irresistible crunch without needing any special gadgets. This isn’t just a recipe; it’s a philosophy of potato mastery, ensuring every single piece has that crave-worthy, ultra-crispy exterior.
The Sound of Crunch: A Potato Obsession
The sound of truly crispy roasted potatoes is music to any food lover’s ears. Imagine the gentle crackle as you nudge a fork into a beautifully browned piece, followed by the soft give of a perfectly cooked, fluffy interior. It’s a texture contrast that makes a simple potato feel incredibly luxurious. Far too often, though, our roasted potatoes emerge from the oven looking pale, feeling soft, and offering all the excitement of a damp sponge. This common culinary frustration is precisely what we’re tackling. Forget the idea that you need an air fryer to achieve this golden standard; your trusty oven, armed with a few Smartly tricks, is more than capable of delivering potatoes so crispy they practically sing.
The Soggy Spud Syndrome: Why Our Potatoes Fail Us
We’ve all been there: eagerly pulling a pan of roasted potatoes from the oven, only to find them more steamed than roasted, with not a crisp edge in sight. It’s a widespread issue, and understanding why it happens is the first step to conquering it.
Common Pitfalls: Too Much Moisture, Low Heat & Crowding
The main culprits behind soggy spuds are moisture, insufficient heat, and overcrowding. Potatoes inherently hold a lot of water. If that moisture doesn’t have a chance to evaporate properly, it steams the potatoes instead of allowing them to brown and crisp. Baking them at too low a temperature means they cook through before the surface has a chance to develop that coveted crust. And overcrowding? That’s a huge one! When potatoes are packed onto a baking sheet, they release steam, which then gets trapped, turning your roasting session into a steaming session. There’s no room for air to circulate, and without airflow, crispness is impossible.
The Air Fryer Allure: What it Does Right (and Why We Don’t Need It)
Air fryers burst onto the scene promising unparalleled crispiness, and they deliver by essentially being small, powerful convection ovens. They circulate hot air rapidly around food, promoting even cooking and fantastic browning, mimicking deep-frying textures with less oil. This high-velocity air circulation is brilliant at evaporating surface moisture quickly. However, the same principles of high heat, good airflow, and moisture management can be applied in a standard oven, often with better results for larger batches, simply by understanding a few fundamental techniques.
The Smartly Secret: Kitchen Hacks for Ultimate Crunch
This is where the magic happens! We’re going to transform humble potatoes into crispy masterpieces using a few simple, yet incredibly effective, techniques. These are my go-to methods for perfectly crunchy potato dishes and sides.
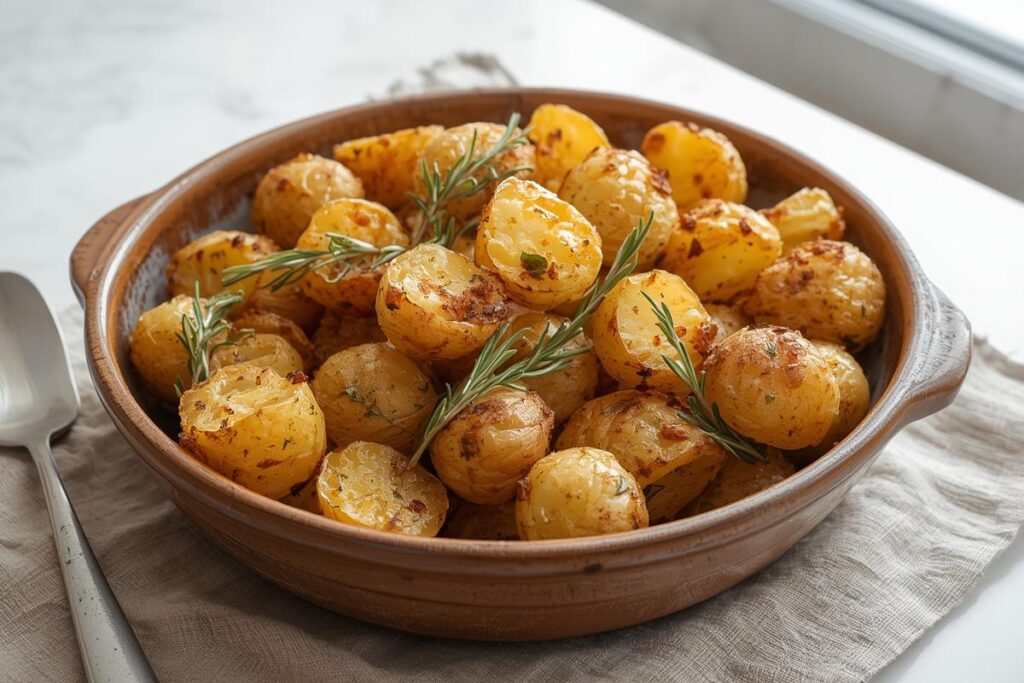
What to expect: When you pull these out of the oven, they won’t just be golden; they’ll be shouting with crispiness. If a few bits look a little too toasty, don’t panic – those are the coveted ‘crunchy bits’ that disappear first! Even if a potato or two decides to stick a bit, a gentle nudge with a spatula will release them, revealing that gorgeous, browned underside.
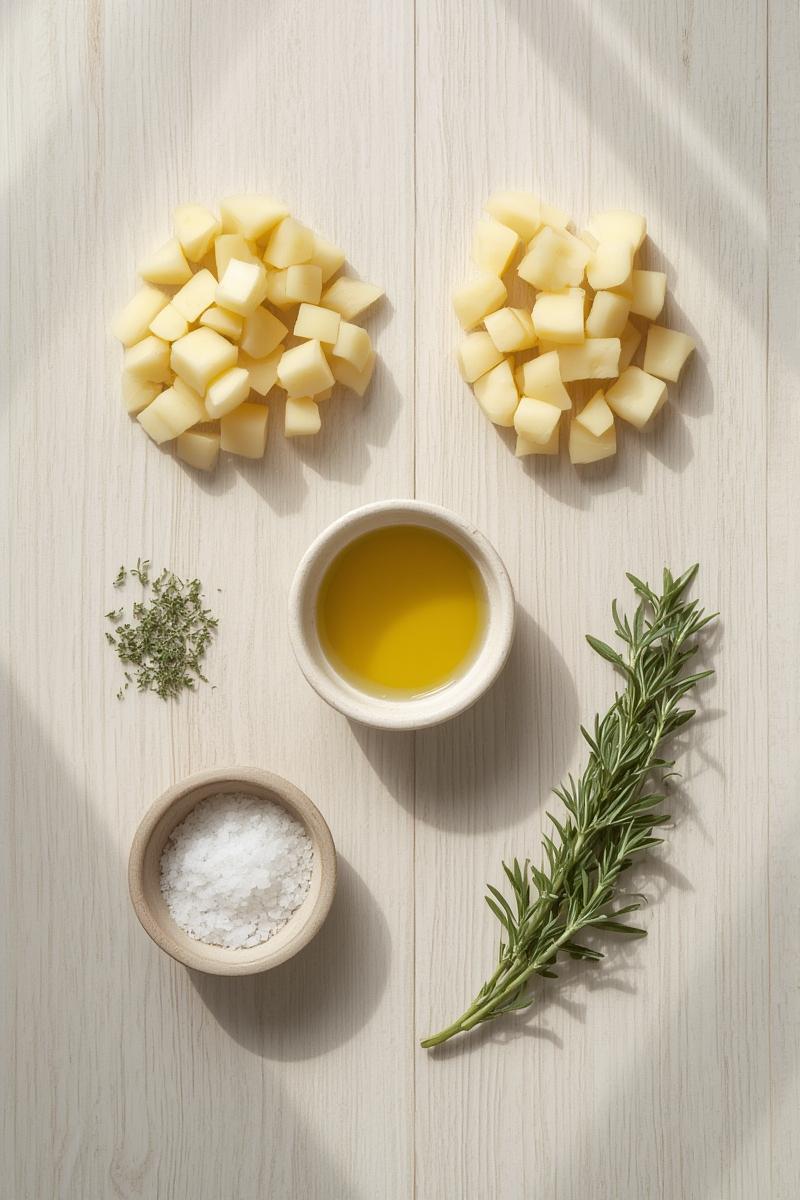
Ingredients & Market Notes:
- 2 lbs (about 4-5 medium) Russet or Yukon Gold potatoes
- 3-4 tablespoons high-smoke point oil (grapeseed, canola, avocado, or refined olive oil)
- 1 teaspoon salt (or to taste)
- 1/2 teaspoon black pepper (or to taste)
- Optional: 1/2 teaspoon garlic powder, 1/4 teaspoon paprika, fresh rosemary or thyme sprigs
- A large pot for boiling
- A sturdy baking sheet
Market Note: For the best results, look for firm, unblemished potatoes. Russets are fantastic for a fluffy interior and incredibly crispy exterior, while Yukon Golds offer a slightly more buttery texture and a beautiful golden color. Don’t worry if you only have one type on hand; the method works wonders for both!
The Soak & Scuff: Prepping for Perfection
Start by peeling your potatoes, then cut them into roughly 1-inch pieces. Aim for similar sizes to ensure even cooking. Now, here’s a crucial step: place the cut potatoes in a large bowl and cover them with cold water. Let them soak for at least 30 minutes, or even a few hours if you have time. This helps to draw out excess surface starch, which inhibits crisping. After soaking, drain the potatoes thoroughly and pat them bone dry with a clean kitchen towel or paper towels. Seriously, get them as dry as you possibly can!
The Boil & Bake: Two-Stage Cooking Method
- Par-boil with purpose: Place the dried potato pieces into a large pot and cover them with cold water by about an inch. Add a generous pinch of salt to the water. Bring the water to a rolling boil, then reduce the heat and simmer for about 8-10 minutes. You want them just tender enough so that a fork meets minimal resistance when poked, but not mushy. They should hold their shape.
- The famous “scuff”: Carefully drain the potatoes in a colander. This is where the magic happens! Return the drained potatoes to the empty, hot pot. Put the lid on and, holding the lid firmly, gently shake the pot back and forth for 15-20 seconds. This roughs up the surface of the potatoes, creating a craggy, floury texture. These rough edges are what will become incredibly crispy and golden in the oven. You’ll see the potatoes looking almost powdery.
Fat is Flavor & Crisp: Choosing the Right Oil
Drizzle your scuffed potatoes generously with your chosen high-smoke point oil. Use enough oil to lightly coat every piece – don’t be shy! For extra flavor, now is the time to add your salt, pepper, garlic powder, paprika, or even some finely chopped fresh rosemary or thyme. Toss everything together until the potatoes are evenly coated.
The Spacing Game: Don’t Crowd the Pan!
Preheat your oven to a blazing 425°F (220°C). Place your baking sheet (or sheets, if needed) into the hot oven while it preheats. We want the pan screaming hot. Carefully spread the oiled, seasoned potatoes in a single layer on the hot baking sheet. This is perhaps the most critical step: ensure there is plenty of space between each potato piece. If they’re too close, they’ll steam instead of roast. Use two baking sheets if necessary – seriously, it makes all the difference!
The Flip Factor: When and How to Turn
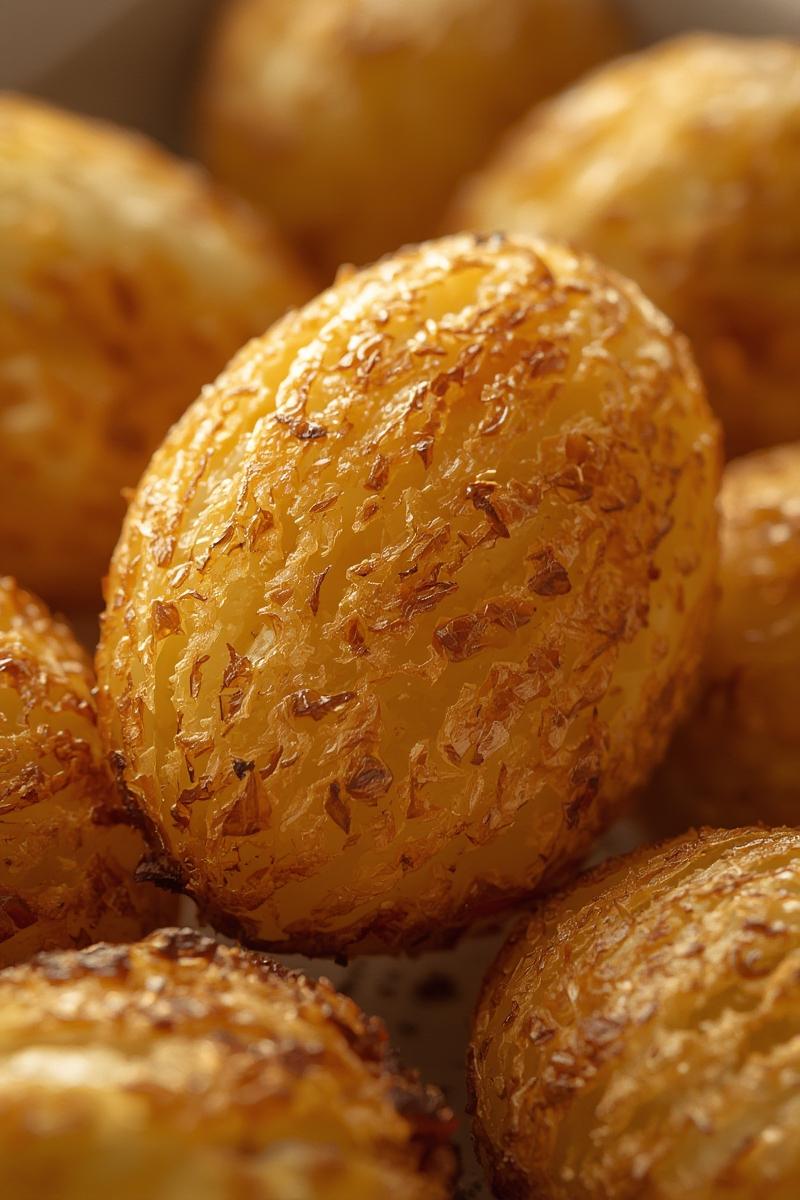
Roast for 20 minutes, then carefully flip the potatoes. You’ll already see some beautiful browning. Continue roasting for another 20-30 minutes, flipping occasionally (every 10-15 minutes), until all sides are deep golden brown and spectacularly crispy. The total roasting time can vary based on your oven and potato size, so trust your eyes and nose! They should smell incredibly inviting and look like little nuggets of gold.
The Science of Crisp: Unpacking Our Techniques
There’s a method to our madness, and it’s all rooted in clever kitchen science. Understanding the “why” behind each step makes you a more intuitive and confident cook.
Starch Gelatinization & Maillard Reaction Explained
The par-boiling step causes the starches inside the potato to gelatinize, making the interior wonderfully soft and fluffy. When we “scuff” the potatoes, we create a rough, starchy surface. This rough surface has significantly more area for the Maillard reaction to occur. The Maillard reaction is a complex chemical process responsible for the browning and development of deep, savory flavors in roasted foods, giving our potatoes that incredible taste and golden hue.
Moisture Management: Steam vs. Crisp
Soaking the potatoes helps remove excess surface starch, which can create a gummy layer. Par-boiling allows the inside to cook without over-browning the outside prematurely, and critically, it drives out a lot of the internal moisture. Then, the high oven heat rapidly evaporates any remaining surface moisture, preventing steaming and promoting crisping. Drying the potatoes thoroughly after soaking and before oiling ensures there’s no residual water to create steam in the oven.
Heat Conduction & Even Browning
A screaming hot baking sheet creates immediate, intense heat contact with the potatoes, kick-starting the browning process right away. This high heat is essential for the Maillard reaction. Proper spacing ensures that hot air can circulate freely around each potato piece, conducting heat evenly to all sides. This constant, even heat exposure promotes uniform browning and all-around crispiness, rather than just on the parts touching the pan.
Beyond Basic: Flavor Variations & Serving Ideas
Once you’ve mastered the basic crisp, the world of flavor is your oyster! These potatoes are fantastic on their own, but they’re also a blank canvas for culinary creativity.
Herb & Spice Infusions: Rosemary, Thyme, Garlic Powder
My go-to addition is a generous sprinkle of garlic powder, dried rosemary, and fresh thyme sprigs tossed with the potatoes before roasting. The herbs become fragrant and slightly crispy themselves. You could also try onion powder, dried oregano, or a blend of Italian herbs for a different profile. For a lovely breakfast companion, add a pinch of smoked paprika.
Spicy Kick: Paprika, Cayenne, Chili Flakes
If you love a little heat, add a pinch of cayenne pepper or red chili flakes along with your other spices. Smoked paprika not only adds a beautiful color but also a wonderful smoky depth. A dash of a good quality chili powder can also bring a vibrant kick.
Serving Suggestions: With Roasts, Eggs, or as a Snack
These ultra-crispy potatoes are incredibly versatile. They are, of course, the perfect side for any roast chicken, beef, or pork. They make a phenomenal base for a hearty breakfast alongside eggs and bacon. I also love to add them to my smart sheet-pan breakfasts for an extra crunch. Honestly, a bowl of these seasoned with just salt and pepper makes for an unbelievably satisfying snack on its own, perhaps with a dollop of garlicky aioli for dipping!
Troubleshooting & FAQs for Perfect Potatoes
Even with the best instructions, sometimes things don’t go exactly as planned. Here are some common questions and my go-to solutions.
My Potatoes Aren’t Browning: What Went Wrong?
The most common reasons are not enough heat, too much moisture, or overcrowding. Double-check your oven temperature – sometimes they run cooler than set. Ensure your potatoes were truly dry before oiling and that you haven’t overloaded your baking sheet. If they’re still not browning, try increasing the temperature to 450°F (230°C) for the last 10-15 minutes, keeping a close eye on them.
Can I Use Different Potato Varieties?
Absolutely! While Russets and Yukon Golds are my top picks for their starch content (great for crisping), red potatoes or new potatoes can also work. Just be aware that their waxy texture means they might not get quite as fluffy inside, but they’ll still achieve a wonderful crisp exterior with this method. Adjust cooking times accordingly; smaller potatoes will cook faster.
Leftovers: How to Re-Crisp (If They Last!)
It’s rare to have leftovers of these, but if you do, the best way to re-crisp them is in a hot oven or even a toaster oven. Spread them on a baking sheet and heat at 375°F (190°C) for 10-15 minutes, or until they’re hot and crispy again. Avoid the microwave, as it will only make them soggy.
Sustainability Tip: Don’t toss those potato peels! Rinse them, toss with a little oil and salt, and roast them alongside your potatoes for a crispy, zero-waste snack.
Ditch the Gadgets, Embrace the Crunch!
There you have it – the Smartly secrets to achieving truly ultra-crispy roasted potatoes without needing any fancy air-frying equipment. It’s all about understanding moisture, starch, and heat, and putting those principles into action with a few simple, hands-on techniques. This method has become a staple in my kitchen, bringing joy (and glorious crunch!) to every meal. I genuinely hope you give these kitchen hacks a try and experience the delight of perfectly crispy spuds. I’d love to know if you added your own twist – perhaps some smoked paprika, a different herb, or even a sprinkle of Parmesan in the last few minutes? Happy crunching, my friends!