

The quest for truly crispy oven-roasted side dishes often ends in disappointment, leaving home cooks with sad, soggy vegetables instead of golden perfection. This guide cuts through the frustration, offering a simple yet revolutionary technique to ensure every bite is wonderfully crunchy, whether from your oven or air fryer.
The Great Soggy Saga: My Battle with Limp Veggies
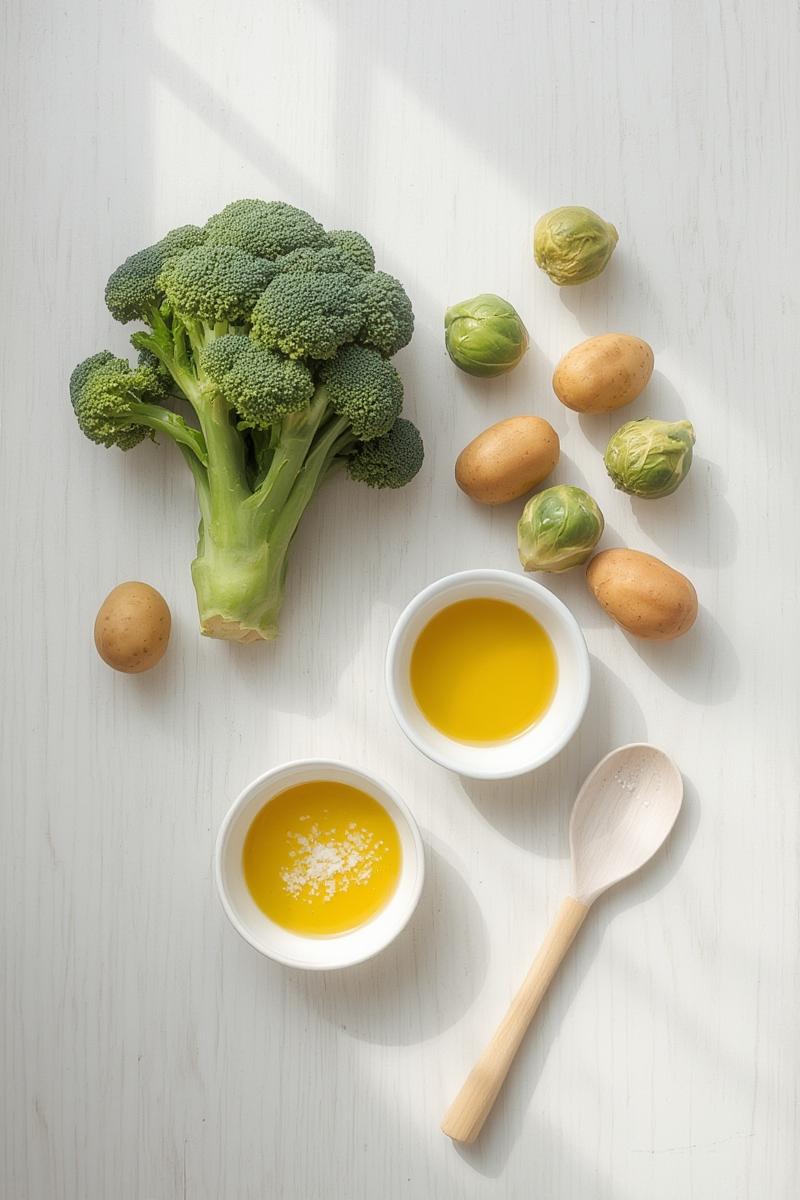
I remember the early days of hosting dinner parties, meticulously chopping beautiful seasonal vegetables, drizzling them with olive oil, and confidently sliding them into the oven. My vision? A vibrant medley, each piece caramelized and tender-crisp, a true celebration of the farmers’ market bounty I’d just brought home. The reality? More often than not, a steaming, slightly limp pile of what should have been a showstopper. It was a saga of good intentions leading to soggy results, a silent kitchen battle I knew many of you have fought too. The universal frustration of limp vegetables on the plate is something I hear from friends constantly – that moment you pull a tray from the oven, hopeful, only to find the texture just isn’t there.
The universal frustration of limp vegetables
It’s a tale as old as time for home cooks: you prep your veggies with care, envisioning that satisfying crunch and golden-brown exterior, only to be met with a chewy, soft disappointment. It’s like the vegetables have decided to go on strike, refusing to crisp up no matter what you do. This experience can make us doubt our cooking prowess, but I’m here to tell you, it’s not you, it’s the technique!
Why ‘roasting’ often disappoints
Often, what we think of as “roasting” is actually closer to steaming. Vegetables naturally hold a lot of water. When placed too close together or in an oven that’s not hot enough, that moisture gets trapped, creating a steamy environment rather than allowing the surface to dry out and crisp up. If your roasted vegetables sometimes emerge from the oven looking more steamed than roasted, or your air fryer produce feels a bit… limp, you’re not alone. Don’t worry, it’s not your cooking skills; it’s often about a few simple, overlooked principles.
The Culprit: Understanding Why Your Sides Go Soggy
To fix a problem, we first need to understand it. The secret to crispy oven roasted sides isn’t magic; it’s science! And once you grasp these simple principles, you’ll unlock a world of golden, crunchy goodness.
Moisture: The Arch-Enemy of Crispness
Think of it this way: water and crispiness are like oil and… well, more oil. They don’t mix. Vegetables are mostly water, and if that water can’t escape, it steams the surface instead of allowing it to brown and crisp. Excess moisture, whether from washing and not drying properly or from the vegetable itself, is the primary barrier to that glorious crunch.
Overcrowding: The Silent Saboteur
This is a big one! We’re often tempted to cram as many veggies onto a baking sheet or into an air fryer basket as possible. But when you do this, the vegetables release their moisture, and with no space for it to evaporate, that moisture just sits there, creating a steamy microclimate. Instead of roasting, you’re essentially braising or steaming your veggies, leading to a limp, unappetizing texture.
Not Enough Heat, Not Enough Crunch
For true crispiness, you need high heat. Not medium heat, not low heat – we’re talking serious heat. High temperatures are crucial for both rapidly evaporating surface moisture and triggering the Maillard reaction, which is that beautiful browning and flavor development we crave. If your oven isn’t preheated thoroughly or your air fryer isn’t set high enough, you simply won’t achieve that coveted crunch.
The Crispy Revolution: Your Simple 3-Step Kitchen Hack Revealed
This improvisational technique came to me after one too many soggy broccoli moments, and it has since transformed how I approach all my side dishes. It’s not about following a rigid recipe for every vegetable, but understanding a core principle that works across the board. The simple hack for consistently crispy oven roasted sides and air-fried delights boils down to three key areas: prep, fat, and heat.
Step 1: Maximize Surface Area & Dryness (Prep is Key)
- Chop Smart: Cut your vegetables into roughly uniform, bite-sized pieces. Smaller, flatter cuts have more surface area exposed to heat, encouraging faster evaporation and browning. Avoid giant chunks that will take forever to cook through.
- Dry, Dry, Dry: This is arguably the most crucial step. After washing, absolutely ensure your vegetables are bone-dry. I use a salad spinner for greens and florets, then spread everything out on a clean kitchen towel or paper towels to air dry for 10-15 minutes, patting them down until there’s no visible moisture. Any lingering water will steam instead of crisp.
Step 2: The Right Fat, The Right Amount (Oil & Seasoning Strategy)
- Oil Wisely: Use a high smoke point oil like avocado oil or light olive oil. The key is just enough to lightly coat each piece, not drench it. Too much oil will deep-fry rather than roast, and too little won’t promote crisping or flavor. My trick is to add oil, then toss, then add a tiny bit more if needed until every piece has a light sheen.
- Season Simply (at first): Salt and pepper are your friends. I often add a little garlic powder or onion powder too. Toss everything thoroughly in a large bowl, ensuring even distribution. For more delicate or fresh herbs, save them for after cooking to preserve their vibrant flavor and prevent burning. This foundation of seasoning helps draw out moisture and contribute to flavor.
Step 3: Heat, Space, and Patience (Oven & Air Fryer Mastery)
- High Heat is Non-Negotiable: For the oven, preheat it to at least 400°F (200°C), preferably 425°F (220°C). For the air fryer, 375-400°F (190-200°C) is ideal. Get that cooking surface screaming hot before the veggies even touch it!
- Give Them Space: This is where most people go wrong. Arrange your vegetables in a single layer with plenty of space between each piece. If using an oven, use multiple baking sheets if necessary. For an air fryer, work in batches. If they’re touching, they’re steaming. Trust me, it’s worth the extra few minutes of cooking time to get that perfect crisp!
- Flip & Shake: For oven roasting, flip your vegetables halfway through cooking for even browning. For air frying, shake the basket vigorously every 5-7 minutes.
The Science of Crunch: Why This Hack Works Every Time
This isn’t just a kitchen trick; it’s rooted in fundamental cooking science. Understanding the ‘why’ behind these steps will make you a more confident and intuitive cook, especially when tackling other kitchen challenges, like tricky gluten-free baking.
Evaporation: Banishing the Moisture Barrier
By drying your vegetables thoroughly and giving them space on a hot surface, you create the perfect conditions for rapid evaporation. The high heat quickly turns surface moisture into steam, which then escapes into the oven or air fryer. With less surface water, the actual vegetable can start to brown and crisp up.
The Maillard Reaction: Golden Brown Perfection
This magical chemical reaction is responsible for the deep, complex flavors and beautiful golden-brown color you see on perfectly roasted foods. It occurs when sugars and amino acids react under high heat and low moisture. Our 3-step hack sets the stage for the Maillard reaction to flourish, creating that irresistible crunch and savory taste.
Thermal Mass: Maintaining Consistent High Heat
Preheating your baking sheet (if using one) or allowing your air fryer to get fully hot ensures that when the vegetables hit the surface, they immediately start cooking and evaporating moisture. A cold pan will drop the temperature too much, hindering crispiness. Plus, giving vegetables space helps maintain the overall high temperature around each piece, maximizing crisping potential.
Applying the Magic: Crispy Side Dish Examples in Action
Now that you know the secret, let’s put it into practice with some of my favorite crispy oven roasted sides!
Perfect Roasted Broccoli & Cauliflower Florets
Wash, then dry really well. Toss with avocado oil, salt, and a pinch of garlic powder. Roast at 425°F (220°C) for 15-20 minutes, flipping halfway, until the edges are beautifully charred and tender-crisp. You want to see those little crispy bits!
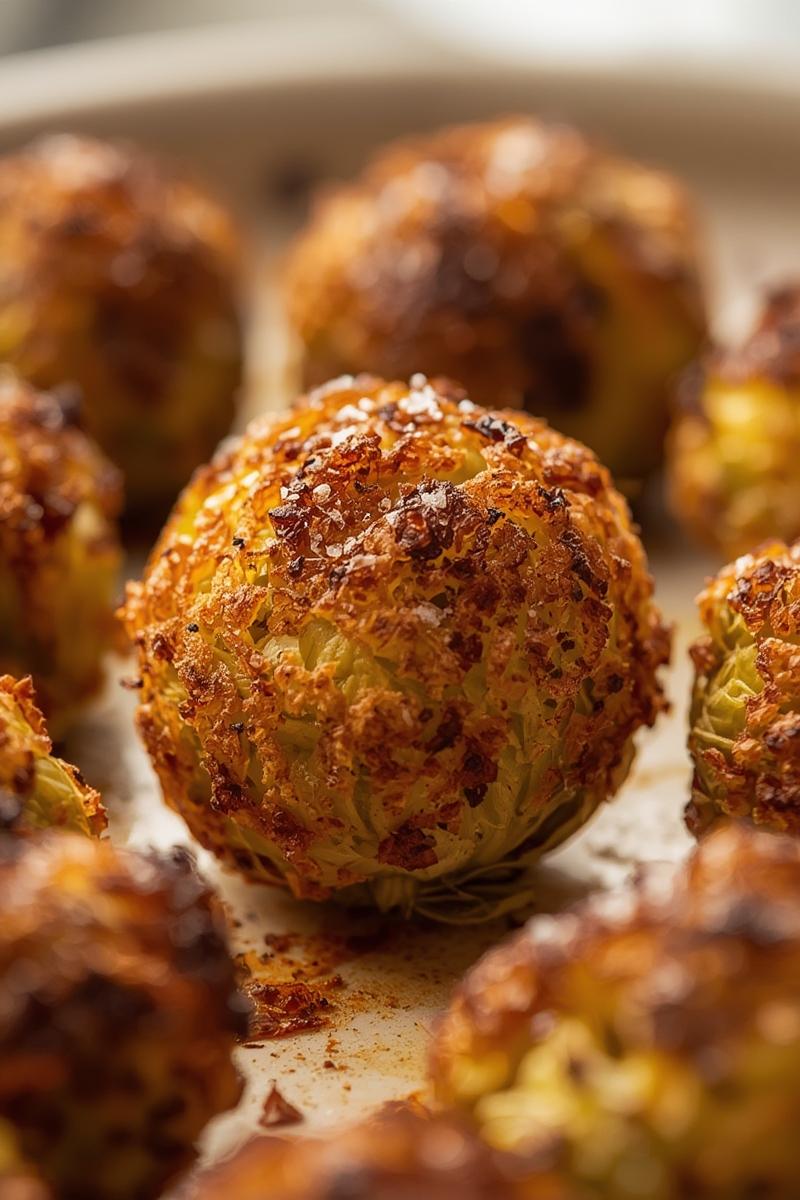
Ultimate Air Fryer Brussels Sprouts & Green Beans
Trim and halve Brussels sprouts, trim green beans. Dry thoroughly. Toss with a light coating of olive oil, salt, and pepper. Air fry at 390°F (200°C) for 12-18 minutes, shaking the basket every 5 minutes, until deeply browned and crunchy. The outside will have a satisfying shatter, while the inside is tender. This method makes these often-maligned veggies utterly addictive, and they’re great additions to quick weeknight meals using pantry staples.
Golden Roasted Potatoes & Sweet Potatoes
Cut potatoes into 1/2-inch cubes. Market Note: When picking potatoes, look for firm, unblemished ones, preferably organic if you’re keeping the skins on for extra crispiness and nutrients. Rinse, then pat them completely dry – this is crucial for potatoes! Toss with oil, salt, pepper, and maybe some smoked paprika or rosemary. Roast at 425°F (220°C) for 25-35 minutes, flipping every 10-15 minutes, until deeply golden and crispy on all sides. Sweet potatoes will cook a little faster.
Beyond the Basics: Other Veggies to Try
This hack works wonders for carrots, parsnips, asparagus, bell peppers, zucchini, and even mushrooms! Just adjust cooking times based on density. Remember, the principles of dryness, adequate fat, high heat, and space remain consistent.
Troubleshooting & Advanced Tips for Next-Level Crisp
Even with the best intentions, sometimes kitchen life throws a curveball. Here are a few extra tips I’ve picked up, much like learning to perfect my overnight oats routine – small adjustments make a world of difference.
Don’t Wash & Chop Too Far Ahead
While some prep can be done in advance, chopping veggies too far ahead of time (especially softer ones like zucchini) can cause them to release more moisture, making it harder to get them truly dry later. Aim to chop and dry right before cooking for best results.
The Power of Parchment Paper (Oven) or Basket Liner (Air Fryer)
For oven roasting, parchment paper helps prevent sticking and makes cleanup a breeze. For air fryers, perforated parchment liners designed for air fryers can do the same, and allow airflow for crisping. Just be sure to use liners that fit and don’t block too much airflow.
When to Add Delicate Seasonings
Fresh herbs like dill, parsley, or chives, along with citrus zest or a drizzle of balsamic glaze, are best added after the vegetables are cooked. This preserves their fresh flavor and vibrant color, adding a beautiful finish without burning during the high-heat cooking.
Reheating for Revival
If you have leftovers, avoid the microwave! Reheat crispy veggies in a hot oven (around 375°F / 190°C) or air fryer for 5-10 minutes until revived and crispy again. They’ll taste almost as good as fresh!
Don’t toss those broccoli stalks! Peel them and slice thinly for a crisp slaw, or add to vegetable stock for a flavor boost.
Master Your Sides, Master Your Meals
Achieving consistently crispy oven roasted sides and air-fried vegetables truly elevates any meal, transforming simple produce into something special. The joy of consistent crunch on your plate brings such a satisfying dimension to dinner, making even the busiest weeknight feel a little more gourmet. Your kitchen becomes a place of triumph when you master these simple principles, turning out perfectly crisp veggies every single time.
Now that you’re armed with these secrets, I’m eager to hear how you apply them! What’s your go-to vegetable for roasting, and will you be adding your own special twist to the seasoning? Perhaps a sprinkle of Polish dill on those golden potatoes? Share your crispy triumphs with me!