
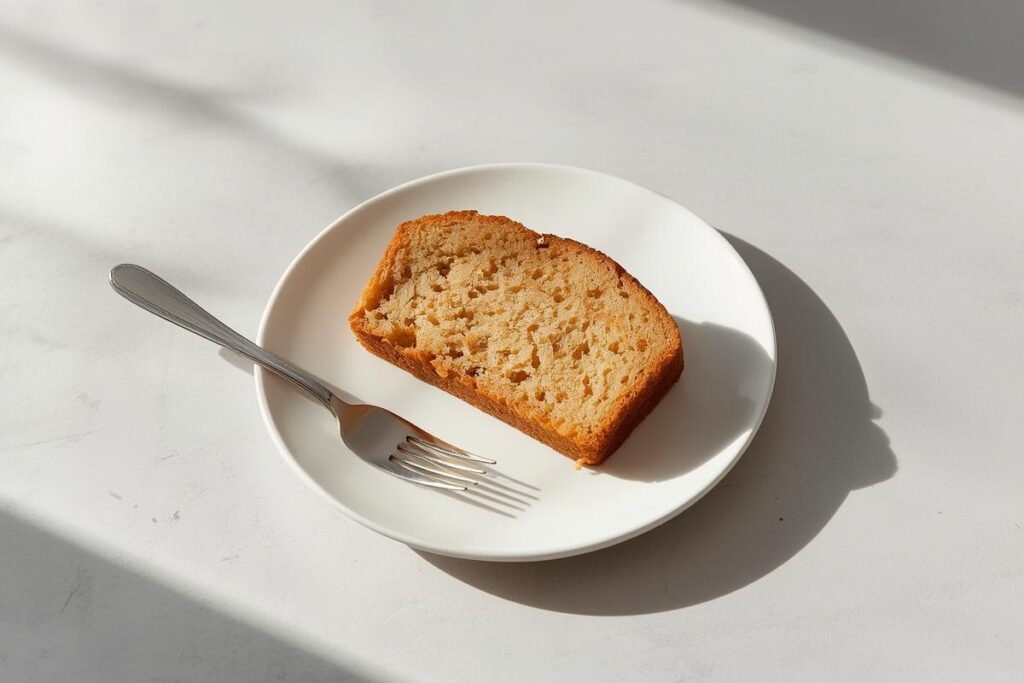
The first time I attempted gluten-free apple muffins, I envisioned tender, spiced morsels. Instead, what emerged from the oven was a pile of beige sawdust that crumbled at the mere thought of a bite. My heart sank faster than a deflated soufflé, and I remember thinking, ‘Is this just the reality of gluten-free baking?’ If you’ve ever found yourself staring at a beautifully browned, yet frustratingly dry, gluten-free cake, know you are not alone. This guide offers empathetic, actionable strategies to rescue and prevent those crumbly catastrophes, transforming your gluten-free creations into wonderfully moist, delicious successes. We’ll dive into the common pitfalls and equip you with Smartly’s secret fixes, ensuring every bite is a joy.
The Crumbly Catastrophe: A Shared GF Struggle
The Heartbreak of a Dry Bake
There’s a unique kind of disappointment that comes with biting into a gluten-free cookie or muffin only to have it dissolve into a sandy heap in your mouth. You’ve followed the recipe meticulously, poured in your hopes and dreams (and a lot of expensive flour), and still, the result is dense, crumbly, and utterly joyless. I’ve been there, more times than I care to admit! It’s enough to make even the most enthusiastic home cook consider hanging up their apron for good.
Why Gluten-Free Feels Different (and Frustrating)
Baking with gluten-free flours isn’t just a simple swap; it’s a whole new culinary dance. Gluten, the protein network found in wheat, provides elasticity, structure, and that wonderfully chewy texture we all love. Without it, our baked goods lack this internal scaffolding, often leading to a denser crumb that struggles to hold onto moisture. It’s like trying to build a house without proper studs – it just won’t stand up, or in our case, stay delightfully tender.
Unmasking the Moisture Thieves: Why GF Bakes Go Dry
The Gluten Void: What’s Missing?
Imagine gluten as a binder and a stretchy, elastic net. It traps air, creating lift, and holds moisture within the structure of your bake. When you remove gluten, you lose that intricate web. This means liquids can escape more easily, and the structure becomes more fragile and prone to drying out. It’s not just about what you remove, but how you replace its vital functions.
Flour Blends & Absorption Rates Explained
Not all gluten-free flours are created equal, and their absorption rates vary wildly. Rice flour, often a base in many blends, can be quite drying. Sorghum flour and millet flour behave differently again, and starches like tapioca and potato starch bring their own unique qualities. A store-bought blend often attempts to balance these, but sometimes they lean too heavily on dryer flours. Understanding how your specific blend absorbs liquid is key. It’s a bit like learning the quirks of different personalities in your kitchen!
Over-Baking: The Silent Killer of Moisture
This is perhaps the most common culprit. Because gluten-free goods often don’t brown in the same way or rise as dramatically as their gluten-containing counterparts, it’s easy to bake them for too long, ‘just to be sure.’ Every extra minute in the oven evaporates precious moisture, turning a potentially tender crumb into a Sahara desert. We’ve all been there, hovering nervously over the oven, second-guessing the timer.
The Delicate Balance of Fats & Sugars
Fats (butter, oil, shortening) and sugars don’t just add flavor; they contribute significantly to moisture and tenderness. Fats coat flour particles, preventing excessive gluten development (though less of an issue here), and keeping the crumb soft. Sugars are humectants, meaning they attract and hold onto moisture, keeping bakes fresh for longer. Too little of either, and your bake will struggle for softness.
Kitchen Reality Check: Don’t Panic!
If your gluten-free dough looks shaggy, stiffer than you expected, or seems to absorb liquid far too quickly, don’t panic! This is a very common scenario. It simply means your flour blend is thirstier than usual. Instead of despairing, treat it as an invitation to improvise! A little extra liquid, a dollop of yogurt, or even a splash of fruit puree can turn things around. Remember, baking is about adapting, not just following a rigid rulebook.
Smartly’s Secret Arsenal: Injecting Instant Moisture
Here’s where we turn those crumbly catastrophes into triumphs. These are my go-to “moisture heroes” that have saved many a gluten-free bake.
Hydration Heroes: Beyond Water & Milk
- Full-Fat Dairy: Yogurt, sour cream, buttermilk, or even crème fraîche add fat, acid, and incredible moisture. The acidity also helps activate leavening agents for a better rise. Start by replacing 1/4 to 1/2 of the liquid with one of these.
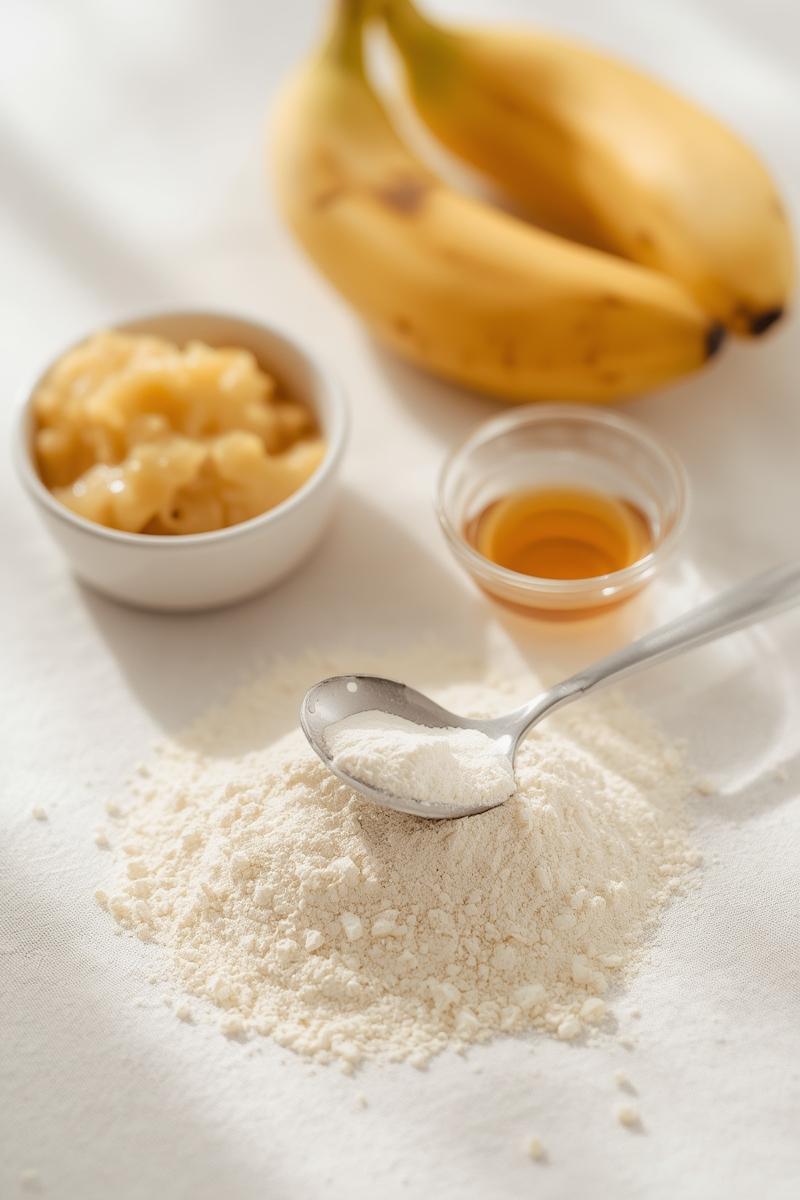
- Mashed Fruits & Pureed Vegetables: Applesauce, mashed banana, pumpkin puree, or even finely grated zucchini (squeeze out excess water first!) are fantastic. They add natural moisture, fiber, and often a touch of sweetness. A great way to sneak in some goodness too! (Remember our Hobo Casserole recipe‘s ability to hide veggies? Same principle!).
- Oils & Alternative Fats: Avocado oil, melted coconut oil, or even a neutral-flavored vegetable oil can add a richness and moistness that butter sometimes struggles to achieve in GF baking. Experiment with different types – a good olive oil can add a lovely nuance to savory bakes.
Market Note: When choosing your mashed fruits or purees, look for unsweetened varieties. This gives you more control over the final sweetness of your bake. For dairy, I often pop over to the local Polish deli for their rich, full-fat kefir – it adds a wonderful tang and tenderness!
Sweet Strategies: Sugars, Syrups & Their Humectant Power
- Brown Sugar & Molasses: Unlike granulated white sugar, brown sugar contains molasses, which is a powerful humectant. Swapping some white sugar for brown sugar (or even adding a teaspoon of molasses) can work wonders.
- Honey & Maple Syrup: These liquid sweeteners are natural humectants and contribute fantastic flavor. If you’re swapping them for granulated sugar, reduce other liquids in the recipe by about 1/4 cup for every cup of liquid sweetener.
The Power of Eggs (and Flax/Chia Eggs)
Eggs add moisture, fat, and structure. If your recipe calls for two eggs and your bake is consistently dry, try adding an extra yolk (which is pure fat and moisture) or a flax/chia egg along with the regular eggs. For vegan alternatives, flax or chia eggs (1 tbsp ground flax/chia + 3 tbsp water, rested for 5 mins) are great binders and also add a touch of moisture.
Xanthan Gum & Psyllium Husk: Structure Without Dryness
These hydrocolloids mimic gluten’s binding properties, helping your bake hold together and retain moisture. Use them sparingly!
- Xanthan Gum: A tiny pinch (1/4 to 1/2 tsp per cup of GF flour blend) can improve texture and elasticity.
- Psyllium Husk: A bit more robust, psyllium husk powder (often 1-2 tsp per cup of flour) absorbs a lot of liquid, creating a gel-like structure. It requires additional hydration, so be prepared to add a little more liquid to your dough.
Under-Baking (Slightly) for Success
This might sound counter-intuitive, but purposefully slightly under-baking gluten-free goods can be a game-changer. Pull them from the oven when a skewer inserted into the center comes out with moist crumbs, not wet batter, but definitely not completely clean. The residual heat will finish the baking process, leaving you with a tender, moist interior. This is a trick I also use when I need to fix dry chicken breast – never overcook!
Future-Proofing Your GF Bakes: Prevention is Key
Beyond rescue operations, here’s how to set yourself up for moist gluten-free success from the start.
Master Your Flour Blend (or Choose Wisely)
Don’t be afraid to create your own blend! A good all-purpose GF flour blend often contains a mix of whole grain flours (like brown rice, sorghum, millet), starches (tapioca, potato, corn), and a protein flour (like almond or oat). Understanding what’s in your blend, or making your own, gives you control. I love to include a higher percentage of almond flour for its natural moisture and richness.
Precision in Measuring: Weight Over Volume
This is crucial in gluten-free baking. Flours compact differently, and a “cup” can vary wildly depending on how it’s scooped. Using a kitchen scale to measure your ingredients by weight (grams are best!) ensures accuracy and consistency. It might feel like an extra step, but it’s a tiny investment for big results.
The Low & Slow Bake: Oven Temperature Control
Often, reducing your oven temperature by 25°F (about 15°C) and extending the baking time slightly can lead to a more evenly cooked, moister gluten-free product. A lower temperature allows the interior to cook through without drying out the exterior too quickly. Invest in an oven thermometer to ensure your oven is truly heating to the temperature you set.
Rest & Refresh: Post-Bake Rituals for Ultimate Tenderness
Once out of the oven, don’t just leave your bakes exposed.
- Cooling: Let cakes and quick breads cool completely in their pans for 10-15 minutes before inverting them onto a wire rack. This allows them to finish setting and retain moisture.
- Storage: Store gluten-free baked goods in an airtight container at room temperature for a day, or in the fridge for longer. For extra protection, you can even wrap cakes in plastic wrap before placing them in a container.
Sustainability Tip: Use any leftover fruit purees or mashed vegetables (like pumpkin or banana) to fortify your morning smoothies or enrich your overnight oats, preventing food waste!
Your Moist GF Baking Journey Begins Now!
Embrace the Experiment
Gluten-free baking is less about strict adherence and more about playful experimentation. Don’t be afraid to adjust liquid amounts, try different fats, or swap out sweeteners. Every “mishap” is a learning opportunity, bringing you closer to gluten-free perfection. Keep a baking journal to note what works and what doesn’t – it’s incredibly helpful!
Share Your Smartly Successes
I truly believe food is meant to be shared, and so are our kitchen stories. Armed with these Smartly fixes, you’re ready to tackle any gluten-free baking challenge with confidence. I’d love to hear about your triumphs, your favorite moisture-adding ingredients, or if you added your own unique twist to rescue a bake. What’s your secret for keeping those gluten-free treats wonderfully moist?