
Transforming soggy side dishes into crispy delights used to feel like a culinary magic trick. This guide reveals a game-changing air fryer technique that turns sad leftovers into glorious, crunchy meals, proving your kitchen holds a true superpower.
The Kitchen Disaster: A Tale of Soggy Stuffing (and Redemption!)
I remember one Thanksgiving feast, years ago, where I was so proud of my herb stuffing. It smelled heavenly coming out of the oven, golden and crisp on top. But as soon as it sat on the platter, ready for seconds, that glorious crust began to surrender. By the time guests went for their second helpings, it had softened, losing its delightful texture. The next day, reheating it in the microwave turned it into a sad, damp mound. I loved the flavors, but the crunch was gone, and with it, a little piece of my culinary joy. That memory, and countless others involving flaccid fries or limp roasted veggies, is precisely what led me on a quest for ultimate crispness. Because really, what’s a perfectly seasoned side dish without that satisfying crunch?
The Soggy Side Struggle is Real
It’s a universally acknowledged truth in home kitchens: getting sides to maintain their crispness is a battle. We spend time chopping, seasoning, and roasting, only for a few minutes on the plate or a trip to the fridge to undo all our hard work. The texture, which is so crucial to the enjoyment of a dish, often becomes the first casualty.
Why Our Sides Betray Us: The Enemy is Moisture
The primary culprit behind a side dish’s surrender to sogginess is moisture. Traditional reheating methods, like the microwave, essentially steam food. This warms it up quickly, but it also traps moisture, turning crispy exteriors soft and mushy. Even in a conventional oven, if dishes are covered or if there’s too much liquid, they can steam rather than crisp. We often want to save every drop of flavor, but sometimes, a little too much sauciness can be a texture killer.
The Leftover Letdown: A Sad Farewell to Crunch
Oh, the leftover letdown! It’s one of the biggest disappointments in the home cook’s journey. A plate of perfectly golden potato wedges from last night becomes a limp, oily mess. A beautiful piece of chicken, once succulent and crispy, can emerge from reheating dry and flavorless. If you’ve ever struggled with making the most of your proteins, you might find some relief in learning how to fix dry, flavorless chicken breast – a related quest for culinary redemption!
Unveiling Your Air Fryer’s Crisping Superpower: The Smartly Method
This is where your air fryer steps onto the stage, ready to claim its rightful place as the crispy champion of your kitchen. Forget everything you thought you knew about reheating or finishing side dishes. We’re about to unlock its true potential with what I affectionately call the ‘Dry Heat Blitz’ principle.
Beyond Basic Reheating: The ‘Dry Heat Blitz’ Principle
The secret lies in the air fryer’s intense, circulating dry heat. Unlike an oven that bakes or a microwave that steams, an air fryer creates a convection current that essentially “fries” with hot air. This rapid air movement effectively pulls moisture away from the surface of your food, allowing it to brown and crisp beautifully without excessive oil. It’s an improvisation that turns potential kitchen waste into culinary triumphs!
Step-by-Step: The Smartly Method for Perfect Crunch
Getting that perfect crunch is simpler than you think:
- Preheat is Paramount: Always preheat your air fryer! Just like a hot pan is key for a good sear, a preheated air fryer ensures an immediate hit of heat, jump-starting the crisping process. Aim for 375°F to 400°F (190°C to 200°C) for most items.
- The Single Layer Rule: This is the golden rule! Place your food in a single, even layer in the basket. Overcrowding is the enemy of crisp. Give each piece its personal space to breathe and get blasted by hot air.
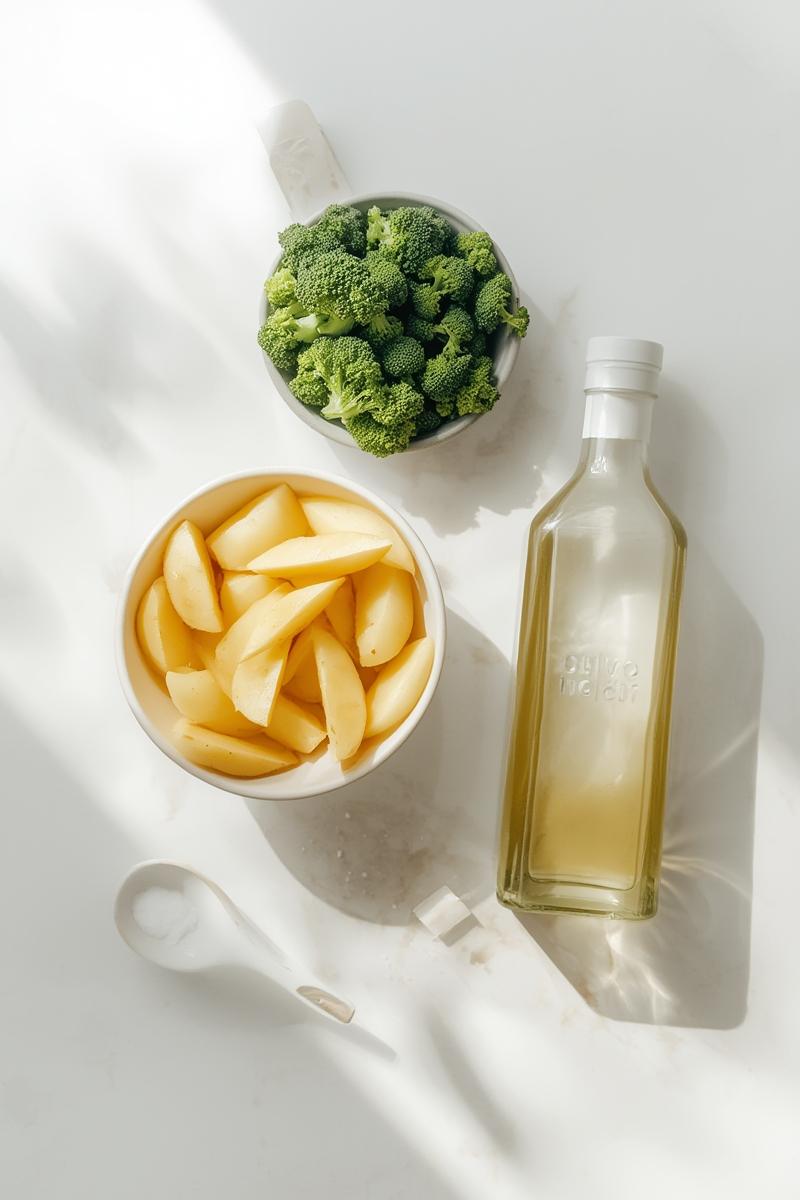
- Light & Even Oil (Optional but Recommended): For maximum crisp, a very light spritz of oil (avocado, olive, or grapeseed) can help. Tossing with a tiny bit of oil before placing in the basket ensures even coverage.
- Shake & Flip: Depending on the item, halfway through cooking, give the basket a good shake or flip the pieces with tongs. This ensures all sides get equal exposure to the hot air. Cook until it smells nutty and looks beautifully golden brown, usually 5-12 minutes for most leftovers or already-cooked sides.
- Listen to Your Food: Don’t just follow the clock. Listen for the sound of sizzle and crisping, and look for that inviting golden-brown color and satisfying texture.
Essential Gear: Beyond the Basket (Think Liners and Sprays)
While your air fryer basket is the star, a few supporting actors can make a big difference.
Parchment liners designed for air fryers can make cleanup a breeze, especially for stickier items, and help prevent smaller pieces from falling through. Just make sure they’re weighed down by food so they don’t fly into the heating element. A good
oil mister or spray bottle is also invaluable for applying just the right amount of oil evenly without drenching your food.
The Science of Snap: Why This Technique Works Wonders
Understanding a little bit of the “why” behind the crisping magic makes you an even smarter cook. It’s not just witchcraft; it’s culinary science at play!
Moisture Evaporation & The Maillard Reaction Explained
The intense, dry heat of the air fryer rapidly evaporates surface moisture from your food. Once the surface is dry, the Maillard reaction kicks in. This is a chemical reaction between amino acids and reducing sugars that occurs when food is heated, creating those incredibly complex flavors and that beautiful brown crust we all adore. Think of the golden crust on bread or the sear on a steak – that’s Maillard at work!
Airflow is Everything: Maximizing Circulation for Crunch
The air fryer’s fan constantly circulates hot air around your food. This continuous, even airflow ensures that every surface is exposed to the heat, promoting uniform crisping. This is why overcrowding is so detrimental; it blocks the airflow, leading to steaming rather than browning. Maximum circulation means maximum crunch!
Temperature Control: The Crispy Sweet Spot
Maintaining the right temperature is key. Too low, and your food will just dry out without browning. Too high, and it might burn before the inside is properly heated or the outside is evenly crisp. The 375°F to 400°F (190°C to 200°C) range is often the sweet spot for reheating and crisping, achieving that perfect balance of speed and browning.
Crispy Transformations: Sides & Leftovers Reimagined
Now for the fun part: seeing how this Smartly method can utterly transform your everyday dishes and bring new life to your leftovers!
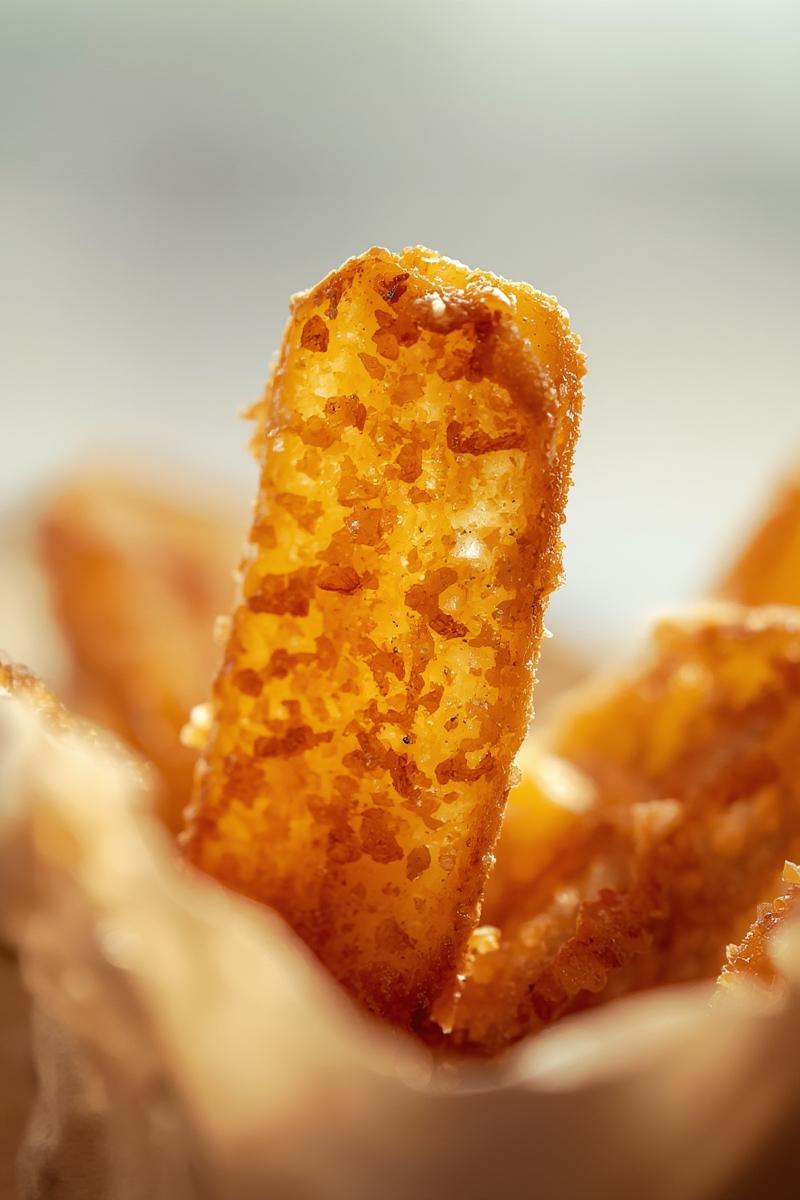
From Flaccid Fries to Golden Rods: Reheating Mastery
Say goodbye to sad, greasy, cold fries! A few minutes in the air fryer at 380°F (195°C) will bring them back to life, often tasting even better than fresh. This works for onion rings, tater tots, and even mozzarella sticks!
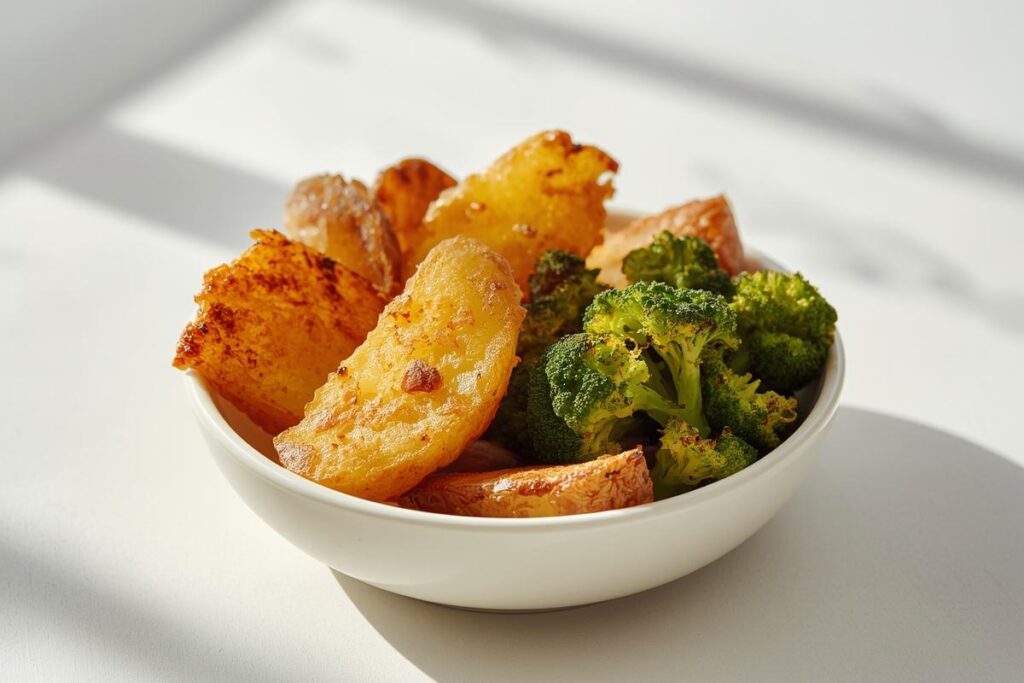
Roasted Veggies: Achieving Restaurant-Quality Char and Tenderness
Leftover roasted broccoli, Brussels sprouts, or carrots can regain their lovely char and tenderness without becoming mushy. A quick 5-7 minutes at 390°F (200°C) brings back their vibrant flavor and a delightful bite. When choosing fresh vegetables for roasting, look for firm, brightly colored produce at your local farmers’ market—they hold up best to the air fryer’s intense heat.
The Ultimate Potato Makeover (Wedges, Smash, Baked)
Any form of cooked potato is a prime candidate for air fryer resurrection. Turn leftover mashed potatoes into crispy cakes, revive soggy potato wedges, or crisp up the skin of a twice-baked potato. This method is so versatile, you can even apply it to elements of a hearty hobo casserole dish, ensuring any potato components achieve maximum deliciousness.
Giving New Life to Grains and Pasta Dishes
This is where it gets really creative! Transform leftover risotto into crispy arancini-like bites. Take pasta bakes, like mac and cheese, and crisp up the top and edges beautifully. Leftover rice can become crispy fried rice cakes with a quick air fry.
Creative Crisping: Beyond the Obvious (Think Pizza Slices, Spring Rolls)
Don’t stop at the usual suspects! An air fryer is a revelation for reheating pizza slices – the crust gets wonderfully crisp, and the cheese melts perfectly without becoming rubbery. Spring rolls, samosas, even crispy taco shells can be revitalized or made from scratch with incredible efficiency.
Smartly Strategies for Air Fryer Success (Don’t Miss These Tips!)
To consistently nail that perfect crunch, keep these insights from my own kitchen experiments in mind.
The Golden Rule: Never Overcrowd the Basket!
I cannot stress this enough! If you cram the basket, you’re essentially steaming your food, not air frying it. It’s like trying to bake a dozen cookies on one tiny sheet – they just don’t turn out right. If the basket looks too full, do it in batches. It takes a little longer but is absolutely worth it for superior results. If your food looks limp and soggy, you’ve probably overcrowded it!
The Right Fat for the Job (or No Fat at All)
Some foods, especially leftovers that were already cooked with oil, might not need any extra fat. For fresh ingredients or things you want extra crisp, a very light spray of a neutral oil (like avocado, grapeseed, or sunflower) is usually enough. You’re aiming for a thin, even coating, not a slick. My personal tip: avoid aerosol non-stick sprays that contain propellants, as they can damage the non-stick coating of your air fryer basket over time.
Seasoning for Maximum Flavor Impact
Season your food before air frying for the best results. The dry heat helps to intensify flavors. For already-cooked leftovers, a pinch of salt and pepper, or a sprinkle of herbs and spices, can make all the difference. Think about complementing the original flavors rather than overpowering them.
Post-Crisp Care: Serving Hot and Fresh
The air fryer performs its magic best right before serving. Once food comes out, the crispness is at its peak. Serve immediately to enjoy that wonderful texture. If it sits too long, environmental moisture will eventually start to soften it again.
Before tossing those vegetable scraps, consider if they could be air-fried into crispy garnishes or added to a rich stock!
Unleash Your Inner Air Fryer Superpower!
Embracing the air fryer for crispy side dishes and revitalized leftovers is more than just a kitchen hack; it’s a genuine superpower that elevates your home cooking. It brings that restaurant-quality texture and flavor right to your table, minimizing food waste and maximizing enjoyment. I love how a simple appliance can inspire such kitchen improvisation, turning what might have been a “sad” meal into something truly special. So go on, experiment with that brilliant machine on your counter, don’t worry if you’re missing an ingredient—try what you have, and discover all the delicious possibilities. I’d love to know if you added your own twist to any of these ideas!