
Gluten-free gravy has a notorious reputation for turning into a clumpy, disheartening mess at the most inconvenient times.
This guide reveals the foolproof method for achieving perfectly smooth, lump-free gluten-free gravy every single time, transforming your holiday meals and weeknight dinners from frustrating to fabulous. Mastering this technique will make you the confident kitchen hero you always wanted to be.
The Gravy Catastrophe That Changed My Holiday Kitchen Forever
The aroma of roasted turkey still fills my memories from that particular Thanksgiving, but sadly, it was overshadowed by a kitchen crisis. Everything was perfect: the golden-brown bird, the vibrant air-fried root vegetables, the cranberry sauce gleaming in a crystal bowl. Then came the gravy. I’d optimistically stirred gluten-free flour directly into the hot drippings, hoping for the best. What I got was a lumpy, gluey, utterly unappetizing concoction that stubbornly refused to thin out or smooth itself. The stress was palpable, even if my family, bless their hearts, tried to pretend it wasn’t a big deal. That day, I vowed never again to surrender to the tyranny of lumpy gravy. That kitchen mishap ignited a quest for the perfect, silky-smooth gluten-free gravy, and what I discovered became my secret weapon: a truly foolproof method that changed everything.
Why Gluten-Free Gravy Loves to Lump
Understanding why gluten-free gravy often turns lumpy is the first step to conquering it. Unlike wheat flour, which contains gluten that forms a stable, elastic network, gluten-free flours behave quite differently.
The Gluten-Free Flour Conundrum: Different Starches, Different Behavior
Many gluten-free flours, like rice flour, cornstarch, or tapioca starch, are primarily starches. When starches come into contact with hot liquid, their granules can swell rapidly and unevenly, creating sticky outer layers that quickly clump together, trapping dry starch inside. This rapid and uneven hydration is the primary culprit behind those frustrating lumps. Wheat flour, with its gluten content, handles heat more forgivingly, allowing for a gradual, even thickening. Gluten-free flours, however, demand a gentler approach to hydration.
Common Gravy Pitfalls: Too Hot, Too Fast, Too Much
The traditional method of adding flour directly to hot fat (a hot roux) or sprinkling it into simmering broth is often the downfall of gluten-free gravy. Common mistakes include:
- Adding dry flour to hot liquid: This almost guarantees instant clumping as the surface of the flour granules cooks and gels before the interior can hydrate.
- Not whisking enough: Insufficient whisking means the flour doesn’t get evenly dispersed, leading to pockets of dry flour that become lumps.
- Too much heat, too fast: High heat can cause starches to thicken too quickly, leading to a gluey texture or scorching the flour before it can properly incorporate.
My Foolproof Method for Silky Smooth Gluten-Free Gravy
This “cold roux revolution” is the simple secret to perfectly smooth, lump-free gravy. It’s all about giving those gluten-free starches a head start.
Ingredient Prep: The Right GF Flour Blend & Stock
First, gather your essentials. You’ll need about 1/4 cup of gluten-free all-purpose flour blend (look for one that contains a mix of rice flour, tapioca starch, and potato starch for the best texture). For stock, you’ll want 3-4 cups of good quality chicken, turkey, beef, or vegetable stock. If using drippings from a roast, aim for about 1/4 cup of fat and then use stock to make up the rest of the liquid. A solid stock is the backbone of great flavor – I often save veggie scraps to make my own, aligning with my love for sustainability!
Market Note:
When selecting your gluten-free flour, seek out blends specifically designed for thickening or all-purpose baking. Some single-starch flours (like pure tapioca or cornstarch) can be very powerful thickeners and might require slight adjustments to the quantity. A good blend provides a more balanced texture.
The Cold Roux Revolution: Mixing Before Heating
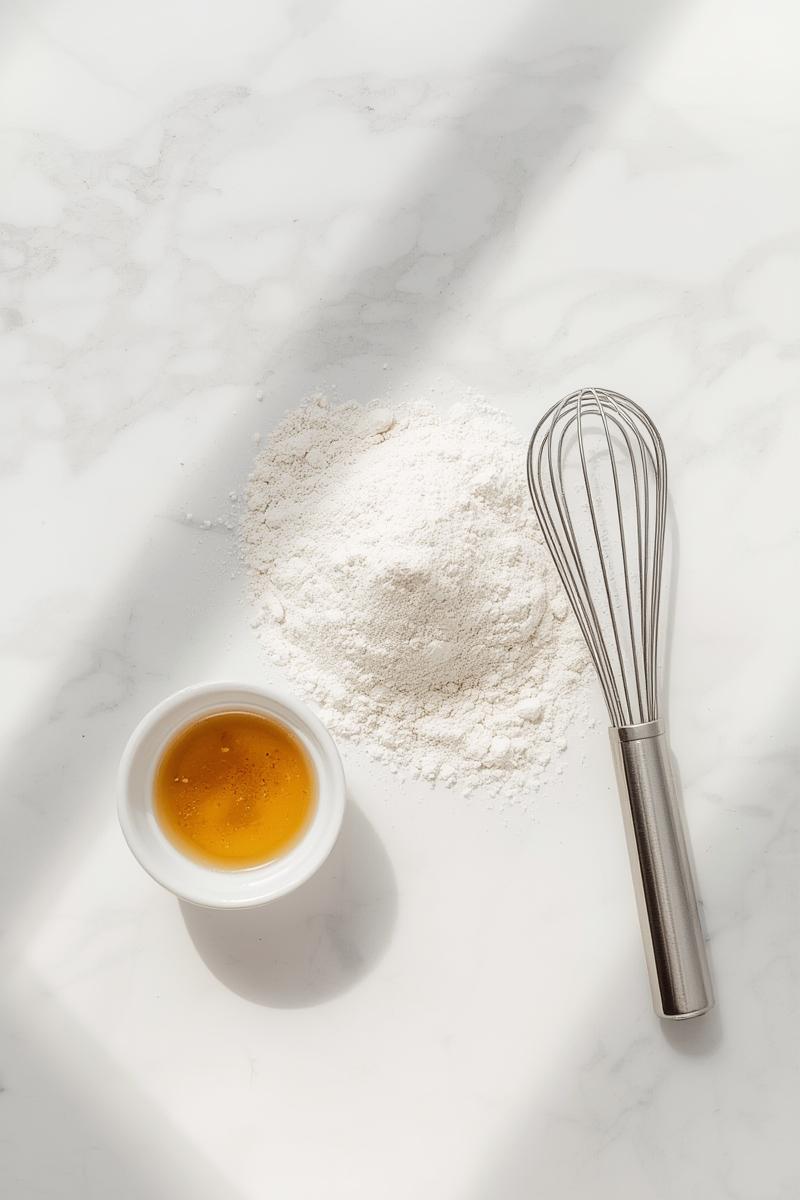
This is where the magic truly begins. Instead of adding flour to hot fat, we’re going to create a “cold roux.” In a separate bowl or a measuring cup, whisk your 1/4 cup of gluten-free flour with about 1/2 cup of cold stock or water. Whisk vigorously until you have a smooth, pourable slurry with absolutely no lumps. It might look a bit thick or pasty, but trust the process!
Kitchen Reality Check: What to expect
When you first mix the cold slurry, it might look a little… pasty. Don’t worry! This is exactly what we want. This initial mixing in cold liquid ensures every starch granule is hydrated evenly before it encounters heat, preventing those dreaded lumps. If you accidentally leave a small lump in your cold slurry, give it another fierce whisk or even press it against the side of the bowl with a spoon. You’re building your smooth foundation here, so take your time.
Gradual Introduction: The Key to Integration
Now, gently heat your drippings or a tablespoon or two of butter in a saucepan over medium heat. Once shimmering (if using fat) or just warm (if only using stock), slowly pour your cold gluten-free slurry into the pan in a thin, steady stream. The key here is slow and steady.
Whisking Wonders: The Tools & Technique for Smoothness
As you pour the slurry, continuously whisk with purpose. A flat whisk or a balloon whisk with many thin wires works best, ensuring you reach every corner of the pan. Keep whisking as you gradually add the remaining 2.5-3.5 cups of stock. This constant motion prevents any local clumping and helps the starches hydrate uniformly throughout the liquid.
Simmer & Thicken: Patience is a Virtue
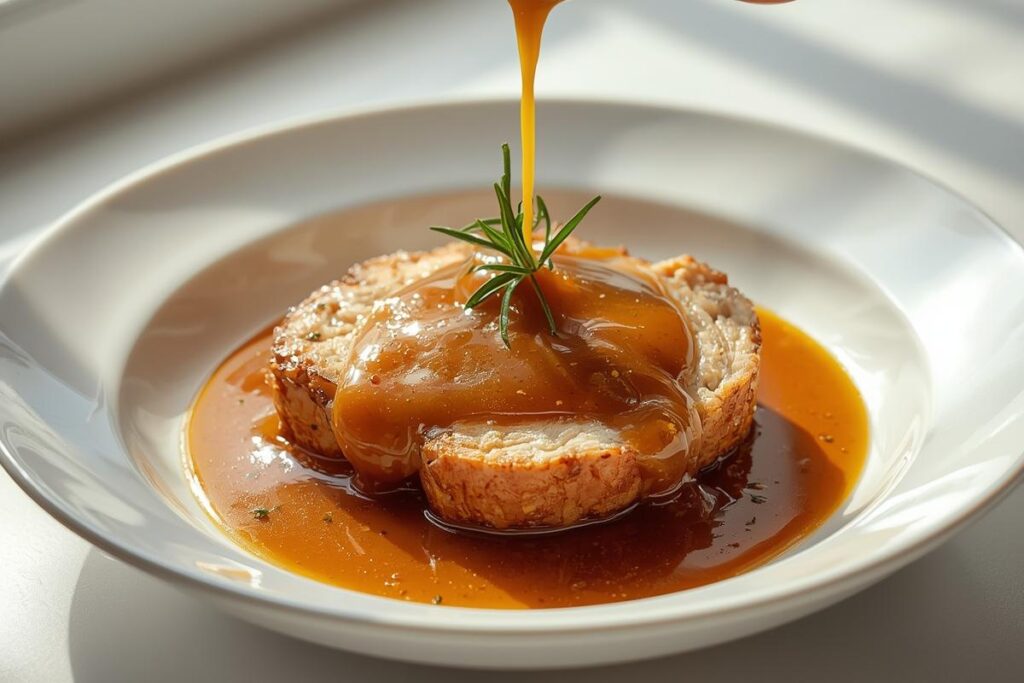
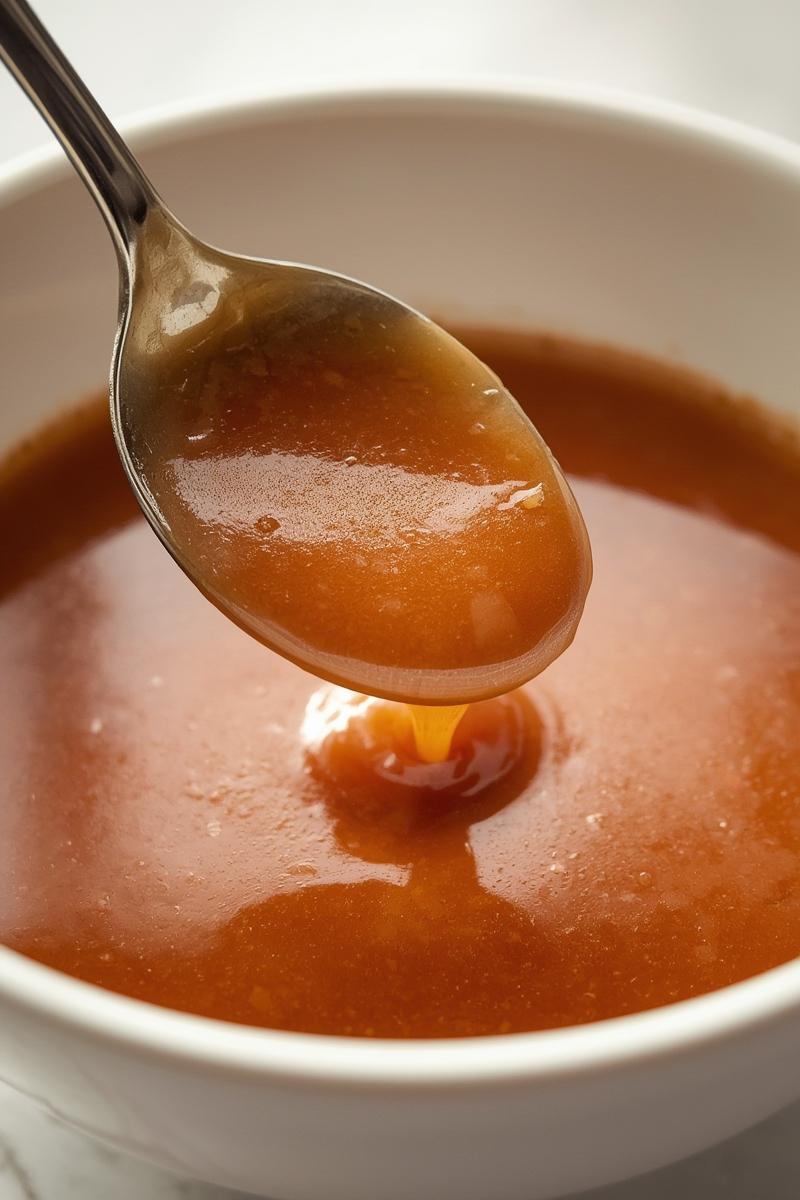
Once all the liquid is added, increase the heat slightly and bring the gravy to a gentle simmer, continuing to whisk occasionally. You’ll notice it start to thicken beautifully. Allow it to simmer for 3-5 minutes, or until it reaches your desired consistency. Don’t rush this step; letting it simmer allows the starches to fully hydrate and the gravy to achieve its full potential. The consistency will naturally be smooth and glossy.
Taste & Adjust: Seasoning for Perfection
Finally, taste your gravy. This is your moment to shine! Add salt, freshly ground black pepper, or any other seasonings. Sometimes a tiny pinch of sugar can balance the flavors, or a splash of fresh herbs. Trust your palate!
The Science Behind the Smoothness: Why This Method Wins
This cold roux method isn’t just a kitchen hack; it’s rooted in smart culinary science.
Preventing Starch Granule Clumping
When you introduce gluten-free starch to cold liquid first, you give each individual starch granule ample time to absorb moisture slowly and evenly. This pre-hydration prevents the outer layer of the starch from gelling and creating a barrier around a dry interior, which is exactly what happens when dry starch hits hot liquid, leading to lumps. By the time the slurry hits the warm pan, the starch is already well on its way to even hydration.
Even Hydration for a Uniform Texture
The slow, even hydration process means that all the starch particles are thickening uniformly. This results in a consistently smooth, creamy, and lump-free texture. You avoid the “hot spots” of rapid thickening that can lead to gluey patches or undercooked starch.
Building Flavor While Maintaining Structure
While this method prioritizes smoothness, it doesn’t compromise on flavor. You still start with rich drippings or a flavorful stock. The gentle simmering allows the flavors to meld beautifully without overcooking the starches or breaking down the gravy’s structure. It’s a win-win for both texture and taste!
Beyond the Roast: Versatile Gravy Variations
Once you’ve mastered the basic technique, the world of gravy variations is your oyster! This method adapts beautifully to different flavor profiles.
- Classic Turkey Gravy (from drippings): Simply use your turkey drippings as the fat base, and then your homemade chicken or turkey stock for the liquid. The richness is unparalleled!
- Rich Beef Gravy (with bouillon or stock): Start with beef fat or butter, use good quality beef stock, and consider a splash of red wine or a tiny bit of tomato paste for a deeper, more savory umami note.
- Savory Mushroom Gravy (vegetarian/vegan option): Sauté finely diced mushrooms (cremini or shiitake add great depth) in olive oil or vegan butter until deeply browned before adding your cold slurry and vegetable stock. This is fantastic over roasted vegetables. Speaking of which, have you tried my air fryer veggies?
- Herb Infusions: Rosemary, Thyme, Sage: For any of the above, add fresh sprigs of herbs like rosemary, thyme, or sage to the gravy as it simmers. Just remember to remove them before serving!
Don’t worry if you’re missing an ingredient—try what you have! A touch of dried herbs works, or a different kind of broth. Kitchen improvisation is part of the fun!
Oops! Fixing Gravy Fails & Pro Tips for Perfection
Even with the best intentions, sometimes kitchen life throws a curveball. Here’s how to recover and elevate your gravy even further.
Lumps? No Problem! (Blender/Sieve Fixes)
If, against all odds, a few stubborn lumps remain, don’t panic! Grab your immersion blender and give the gravy a quick whiz right in the pot. It works wonders! Alternatively, pour the gravy through a fine-mesh sieve, pressing out any remaining lumps with a spoon. Problem solved!
Too Thick? Too Thin? (Adjusting Consistency)
If your gravy is too thick, simply whisk in a splash more warm stock until it reaches your desired consistency. If it’s too thin, create another small slurry (1 teaspoon GF flour to 2 tablespoons cold stock) and whisk it into the simmering gravy a bit at a time, letting it thicken between additions. Patience is key here.
Boosting Umami: Secret Ingredients for Depth
For an extra layer of savory depth, consider whisking in a teaspoon of good quality soy sauce or tamari (if gluten-free), a dash of Worcestershire sauce (check for GF), or a pinch of nutritional yeast for vegetarian versions. A tiny amount of white miso paste can also add incredible umami.
Make-Ahead & Reheating Hacks
Gravy is wonderful to make ahead! Prepare it up to 2-3 days in advance and store it in an airtight container in the refrigerator. When reheating, do so gently over low heat, whisking constantly. You might need to add a splash of extra stock or water to bring it back to the perfect consistency. This allows for a stress-free meal, much like how a well-prepped breakfast can simplify your morning (overnight oats, anyone?).
Any leftover gravy can be frozen in an ice cube tray for quick, single-serving additions to future meals, reducing food waste beautifully.
Your New Holiday Hero Skill: Mastered!
Embracing this simple “cold roux” technique truly unlocks the secret to silky-smooth, lump-free gluten-free gravy. No more kitchen stress, no more apologetic side dishes. Just pure, unadulterated gravy perfection that will have everyone asking for your secret. You’ll feel a surge of quiet confidence as you pour that glossy, rich gravy over your holiday roast or a simple weeknight mash. It’s a small change with a huge impact on your cooking joy!
I’d love to know what magic you create with this method! Will you be adding a unique herb blend, a splash of local cider, or perhaps making a savory mushroom version? Share your culinary triumphs and personal twists!