
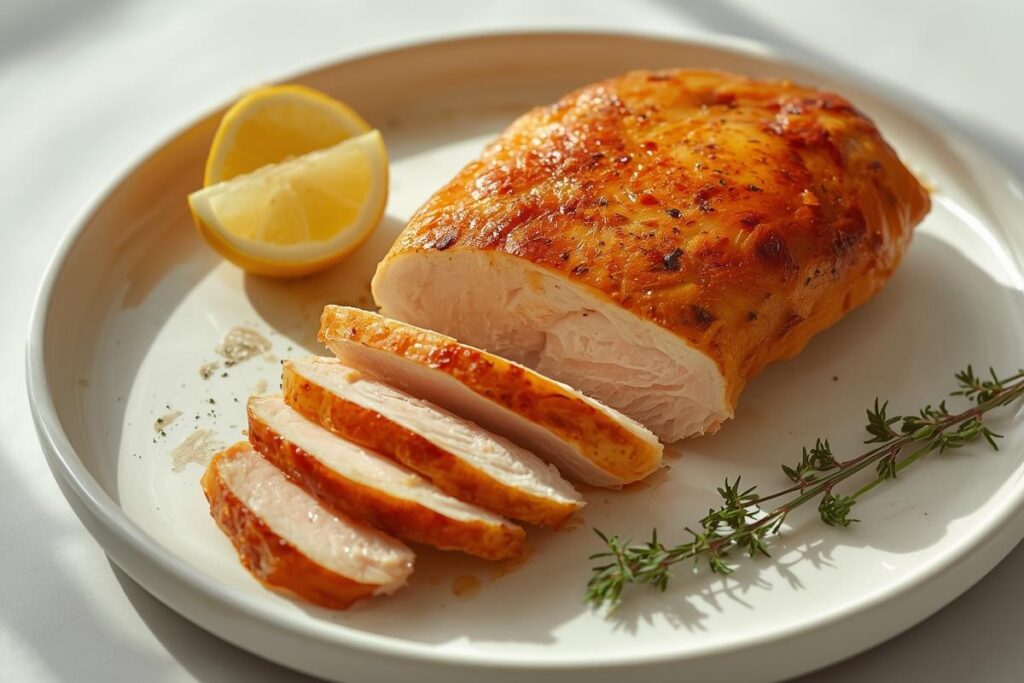
The quest for consistently juicy chicken often ends in disappointment, with countless home cooks struggling against the tyranny of dry, rubbery meat. This guide reveals expert-backed techniques and troubleshooting tips to transform your chicken dinners, ensuring every bite is succulent and flavorful.
I still remember the evening my best friend, Anya, hosted her first big dinner party. The table was stunning, candles flickering, and her famous lemon-herb chicken was the star. Everyone took their first bite, and then… a collective pause. The chicken, bless its heart, was drier than a desert boot. Anya, usually unflappable, looked crestfallen. That night, we all learned the universal pain of the overcooked bird, a culinary tragedy many of us know too well.
Dry chicken isn’t a character flaw in the cook; it’s a technical puzzle. The “twist” we’re exploring today isn’t a secret ingredient, but a collection of techniques and a shift in approach that makes all the difference. We’re going to demystify why chicken so often goes from tender to tough and equip you with the “how” to achieve that perfect, juicy result every single time. Think of it as your personal chicken rescue kit, transforming every piece into a flavorful masterpiece.
Kitchen Reality Check: What to Expect
Cooking chicken perfectly juicy takes a little practice, but it’s incredibly rewarding. Don’t be afraid to experiment with these techniques, especially with something like brining; you might just discover a new favorite method. If your first attempt isn’t absolutely perfect, don’t fret! Even if the chicken is a little less tender than you hoped, it’s still a learning experience. The goal is progress, not instant perfection. Keep an eye on that internal temperature, and remember: patience is a virtue, especially when resting your meat.
The Heartbreak of the Overcooked Bird: Why Chicken Gets Dry
Overcooking: The #1 Offender
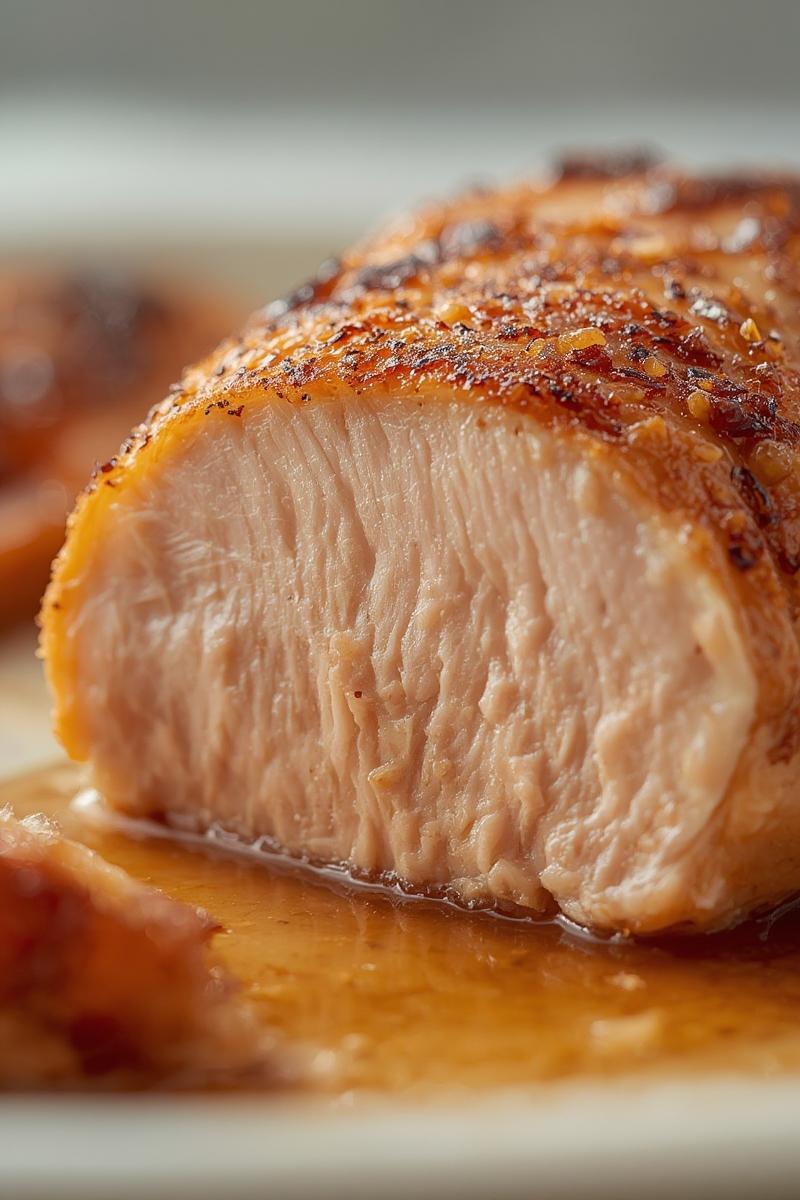
At the heart of every dry chicken disaster is usually overcooking. Chicken, especially leaner cuts like breasts, has delicate protein fibers. When exposed to heat for too long, these proteins seize up and contract, squeezing out every last drop of moisture. Imagine wringing out a wet sponge—that’s what happens to your chicken, leaving it tough and flavorless.
The Wrong Cut for the Job
Not all chicken cuts are created equal in their resilience to heat. Chicken breasts are notoriously lean and unforgiving, quick to dry out if you blink too long. Darker meats like thighs, drumsticks, and wings, on the other hand, contain more fat and connective tissue. This makes them much more forgiving and flavorful, perfect for methods like braising or slow-cooked casseroles, where they just get more tender with time.
Skipping Crucial Prep Steps
Sometimes, the problem starts before the heat even turns on. Skipping essential prep steps, like brining or marinating, can set you up for failure. These steps introduce moisture and flavor, helping the chicken retain its tenderness throughout the cooking process. Also, patting your chicken dry before searing is vital; excess surface moisture prevents that beautiful, golden-brown crust we all crave, and instead steams the meat.
Ignoring Internal Temperature
Guessing if your chicken is done by poking it or cutting into it is a recipe for dryness. Every time you cut into the meat, precious juices escape. Visually, chicken can look cooked on the outside while still being undercooked or, more commonly, severely overcooked inside. Relying on an accurate internal temperature is the only foolproof way to ensure doneness without sacrificing moisture.
Resting? What’s Resting?
This is arguably one of the most overlooked steps. After your chicken comes out of the oven or off the stove, it’s brimming with juices that are excitedly rushing to the center. If you cut into it immediately, those juices will simply spill out onto your cutting board. Resting allows the muscle fibers to relax and reabsorb those delicious juices, ensuring they stay locked inside each tender bite. Think of it like a brief, calming pause before the big reveal.
Your Chicken Rescue Kit: Foolproof Techniques for Juiciness
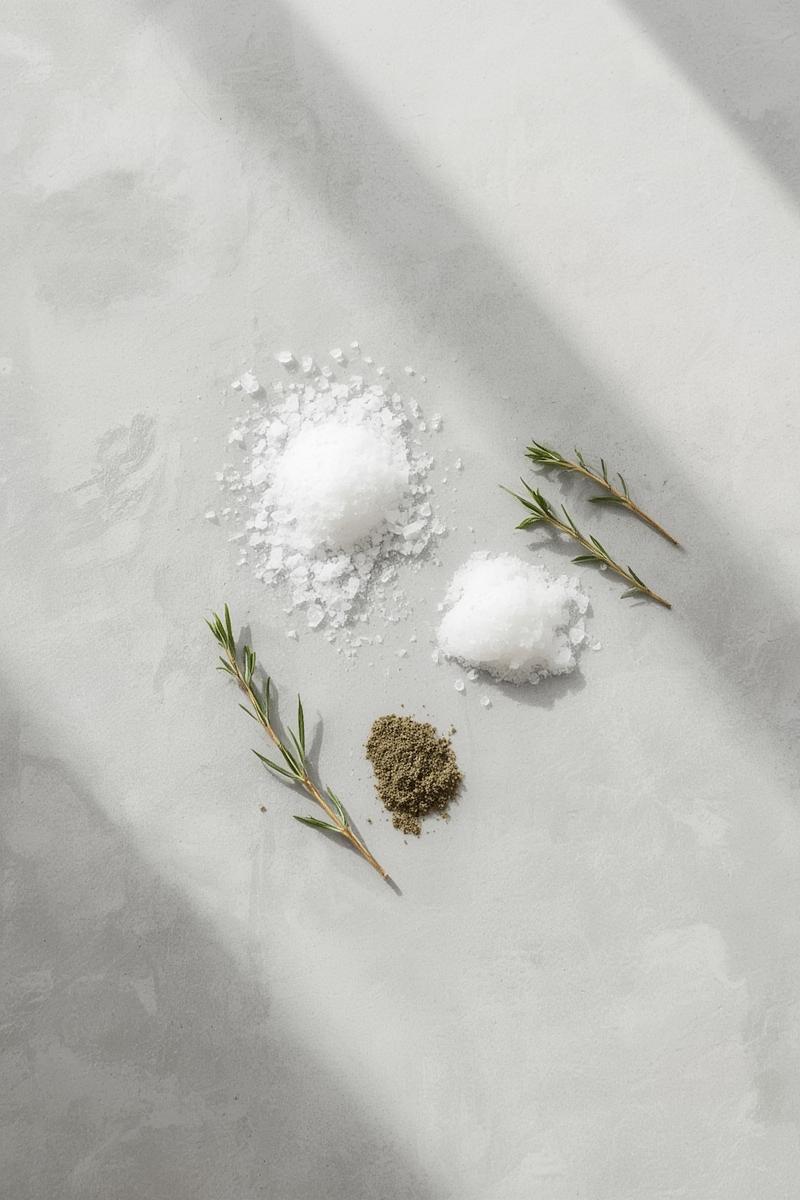
Brine Before You Cook: A Salty Secret
Brining is a game-changer! It involves submerging chicken in a saltwater solution (wet brine) or coating it directly with a salt mixture (dry brine) before cooking. The salt helps the chicken absorb and retain moisture, leading to a significantly juicier result. For a wet brine, dissolve salt (and optionally sugar and aromatics like bay leaves, peppercorns, or orange peel) in water. Submerge your chicken for at least 30 minutes, or up to 4 hours for breasts, and longer for whole birds. Dry brining involves simply sprinkling salt over the chicken and letting it rest in the fridge, allowing the salt to draw out moisture, then reabsorb it, seasoning from within.
Marinades That Matter: Flavor & Tenderness
Marinades not only infuse incredible flavor but can also tenderize chicken. Acidic marinades (vinegar, lemon juice, buttermilk, yogurt) help break down tough proteins, while enzyme-based marinades (papaya, pineapple) work similarly. Remember, don’t over-marinate with acidic ingredients, especially for lean breasts, as it can turn the texture mushy. A few hours is usually plenty, but for a richer flavor, overnight can be wonderful.
Sear First, Then Finish: The Reverse Sear & Pan-Roast
This technique creates a beautiful, crispy skin while keeping the inside tender. For pan-roasting, sear your chicken pieces skin-side down in an oven-safe skillet until golden and crispy, then flip and finish in a moderate oven (around 375°F/190°C) until cooked through. The reverse sear flips this: cook the chicken slowly in a low oven (250°F/120°C) until almost done, then transfer to a screaming hot pan for a quick sear to develop a crust. This method is fantastic for thicker cuts, ensuring even cooking.
Sous Vide: The Ultimate Control
For ultimate precision and juiciness, sous vide is unparalleled. Chicken is sealed in a vacuum bag and cooked in a precisely temperature-controlled water bath. This method guarantees that your chicken will never overcook, resulting in incredibly tender, moist meat every time. After its bath, a quick sear in a hot pan gives it that irresistible golden crust.
Low & Slow: Confit & Braising
These methods are a dream for darker, fattier cuts like chicken thighs and drumsticks. Confit involves slow-cooking chicken completely submerged in fat (duck fat is traditional, but olive oil works beautifully) at a very low temperature. The result is unbelievably tender, fall-off-the-bone meat. Braising, on the other hand, cooks chicken gently in a flavorful liquid—wine, broth, tomatoes—until succulent. These are my go-to techniques for cozy weekend meals, perfect for making a hearty dish for a crowd.
The Art of the Thermometer: Don’t Guess, Know!
This is your most important tool! An instant-read thermometer is indispensable. Insert it into the thickest part of the chicken, avoiding bones.
- Chicken Breast: Aim for 160-162°F (71-72°C) when you pull it from the heat. Carryover cooking will bring it up to the safe 165°F (74°C).
- Chicken Thighs/Drumsticks/Whole Chicken: These can safely go higher, up to 170-175°F (77-79°C), where their texture becomes even more tender and flavorful. Don’t worry, the extra fat keeps them juicy!
The Golden Rule: Always Rest Your Chicken
Seriously, do not skip this step! After cooking, transfer your chicken to a cutting board, tent it loosely with foil, and let it rest for 5-10 minutes for breasts and up to 15-20 minutes for a whole chicken. This allows the internal temperature to equalize and, crucially, the juices to redistribute throughout the meat. Cutting too early will let all those lovely juices escape, leaving you with dry chicken, regardless of how perfectly it was cooked.
Chef’s Notes: Essential Tools & Ingredient Choices
Invest in a good quality instant-read thermometer—it’s the single best upgrade you can make to your cooking. For chicken, look for plump, well-packaged birds at your local market. I love picking up whole chickens at the farmers’ market; their flavor is always so much richer. Don’t be afraid to ask your butcher for specific cuts or for advice on what’s freshest! For brining, choose a non-reactive container like glass, ceramic, or food-grade plastic.
Beyond the Basics: Advanced Tips for Consistent Success
Spatchcocking for Even Cooking
For whole chickens, spatchcocking (removing the backbone and flattening the bird) is a game-changer. It allows the chicken to cook more evenly and significantly reduces roasting time, ensuring both breast and thigh meat reach perfect doneness simultaneously. Plus, more skin is exposed to the heat, leading to extra crispy deliciousness! It’s easier than it sounds, and there are tons of great video guides online.
Basting & Glazing: Adding Moisture & Flavor
While often debated, basting can contribute to a lovely crispy skin and an extra layer of flavor. During the last 15-20 minutes of cooking, brush your chicken with pan drippings, melted butter, or a flavorful glaze (like honey-garlic or balsamic-herb). This helps develop a beautiful crust and keeps the surface moist, enhancing the overall experience. For something quick and delightful, consider glazing meal prep chicken to lock in moisture before storing.
The Power of Compound Butters
For an extra boost of flavor and moisture, try compound butters. Mix softened butter with herbs (rosemary, thyme), garlic, lemon zest, or spices. Gently separate the skin from the breast meat and spread a thin layer of this butter directly onto the meat before cooking. As the butter melts, it bastes the chicken from the inside out, infusing it with incredible flavor and keeping it incredibly moist. It’s a trick I picked up years ago and now use all the time!
Pounding for Even Thickness
When cooking chicken breasts, uneven thickness is often the culprit behind dry edges and undercooked centers. Place breasts between two pieces of plastic wrap and use a meat mallet or a heavy pan to gently pound them to an even 1/2-inch thickness. This ensures they cook uniformly and prevents the thinner parts from drying out while the thicker parts finish cooking. It’s also great for quick-cooking recipes or recipes where consistent cooking time is key.
Choosing the Right Pan & Heat
The right cookware makes a difference. A heavy-bottomed, oven-safe skillet (like cast iron) is excellent for searing and pan-roasting, as it retains and distributes heat evenly. For whole birds, a sturdy roasting pan with a rack allows for even air circulation around the chicken, promoting crisp skin. Understanding your oven’s hot spots and preheating properly are also crucial for consistent results.
Sustainability & Leftover Tip:
Don’t toss those chicken bones! Collect them in a freezer bag and use them later to make a rich, homemade stock, perfect for soups and sauces.
Your Juicy Chicken Journey Begins Now!
Achieving consistently juicy chicken isn’t a culinary myth; it’s a skill built on understanding the basics and a few smart techniques. From the transformative power of brining and precise temperature control to the magic of resting and spatchcocking, you now have a comprehensive toolkit to banish dry chicken from your kitchen forever. Start with one new technique, like always using a thermometer or taking the time to rest your cooked bird, and build from there. You’ll be amazed at the difference it makes!
I’m so excited for you to try these methods and rediscover the joy of perfectly cooked chicken. What technique are you most eager to experiment with first, or have you already mastered a secret for juicy chicken that you’d love to share?