
Rescuing a dry chicken dinner feels like a culinary mission impossible, yet this guide provides immediate, actionable strategies to bring it back to life. Beyond quick fixes, you’ll discover comprehensive techniques to prevent dryness and ensure consistently juicy results every time. This article turns those kitchen mishaps into confident triumphs, helping you cook chicken that’s always tender and flavorful.
The Culinary Heartbreak: Facing a Dry Chicken Dinner
A Familiar Kitchen Fiasco
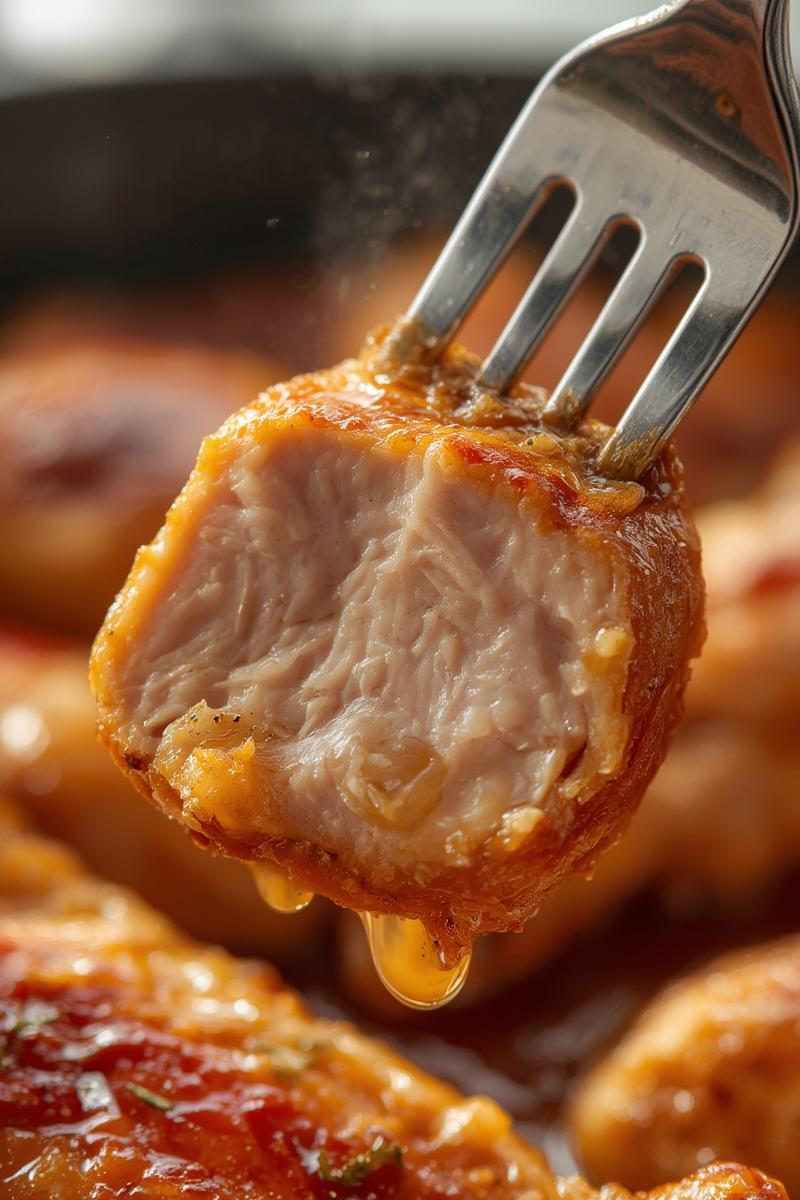
There are few kitchen moments as universally deflating as slicing into what you hoped would be a beautifully roasted chicken, only to find it chalky, stringy, and utterly devoid of its juicy promise. I remember one particularly bustling Sunday afternoon, trying to multitask between helping my nephew with a Lego fortress and getting dinner on the table. The chicken, destined for a lovely family lunch, emerged from the oven looking glorious, golden and crisp. But alas, when I carved it, the breast was so dry it practically disintegrated. My heart sank a little! We still ate it, of course, drenching it in every sauce imaginable, but the feeling of that culinary “oops” lingered.
Why We Deserve Better Than Dry Chicken
Cooking at home should be a source of joy and delicious satisfaction, not a battle against dryness. Chicken, being such a versatile and beloved protein, deserves to be treated with respect, ensuring it comes out tender, succulent, and full of flavor every single time. We pour our time and love into preparing meals, and encountering a dry dish can make even the most enthusiastic home cook feel a bit discouraged. But don’t you worry! Those dry chicken dinners are about to become a thing of the past. We’re going to learn not just how to save them, but how to ensure they never happen again.
Unmasking the Culprits: Why Your Chicken Went Dry
Before we dive into the rescue mission, let’s take a quick peek at why our chicken sometimes decides to dry out. Understanding the “why” is half the battle won for prevention!
Overcooking: The Number One Offender
This is by far the most common reason. Chicken, especially leaner cuts like breast, has a very narrow window of perfection. Cook it even a minute or two past its ideal internal temperature, and those muscle fibers seize up, squeezing out all the precious moisture. Think of it like wringing out a sponge – once the water’s gone, it’s hard to put back.
Skipping the Brine or Marinade
Many home cooks skip this step, but it’s a powerful tool! Brining introduces extra moisture and seasoning into the meat before cooking, while marinades use acids, oils, and enzymes to tenderize and flavor, creating a delicious buffer against drying out.
Uneven Cooking Temperatures
Sometimes, the oven itself or your pan can have hot spots, causing one part of the chicken to cook faster than another. Or, if pieces are vastly different sizes, smaller ones will dry out while larger ones are still cooking through.
Forgetting to Rest the Meat
I know, I know, it’s hard to wait when dinner is ready! But skipping the resting period means all those lovely juices, which are pushed to the center during cooking, will run right out onto your cutting board the moment you slice. Resting allows them to redistribute back into the meat, ensuring every bite is moist.
Starting with Lean Cuts (e.g., boneless, skinless breasts)
Boneless, skinless chicken breasts are fantastic for quick meals, but they are also the most prone to drying out because they lack the protective fat and bone that other cuts offer. They demand a little extra care and attention.
Emergency Rescue: Bringing Cooked Chicken Back to Life
Alright, the deed is done, the chicken is dry. Don’t panic! We’re not throwing anything away. Let’s work some kitchen magic and bring that bird back from the brink.
The Sauce Solution: Drenching in Flavor
This is often the quickest and most effective fix. Moisture plus flavor equals delicious! Don’t be shy; a generous pour can transform a dry bite into a delightful one.
Pan Sauces & Gravies
If you cooked your chicken with some drippings, you might be able to whip up a quick pan sauce. Deglaze the pan with a splash of wine, broth, or even water, stir in a little flour or cornstarch slurry to thicken, and season. A simple gravy instantly adds moisture and richness.
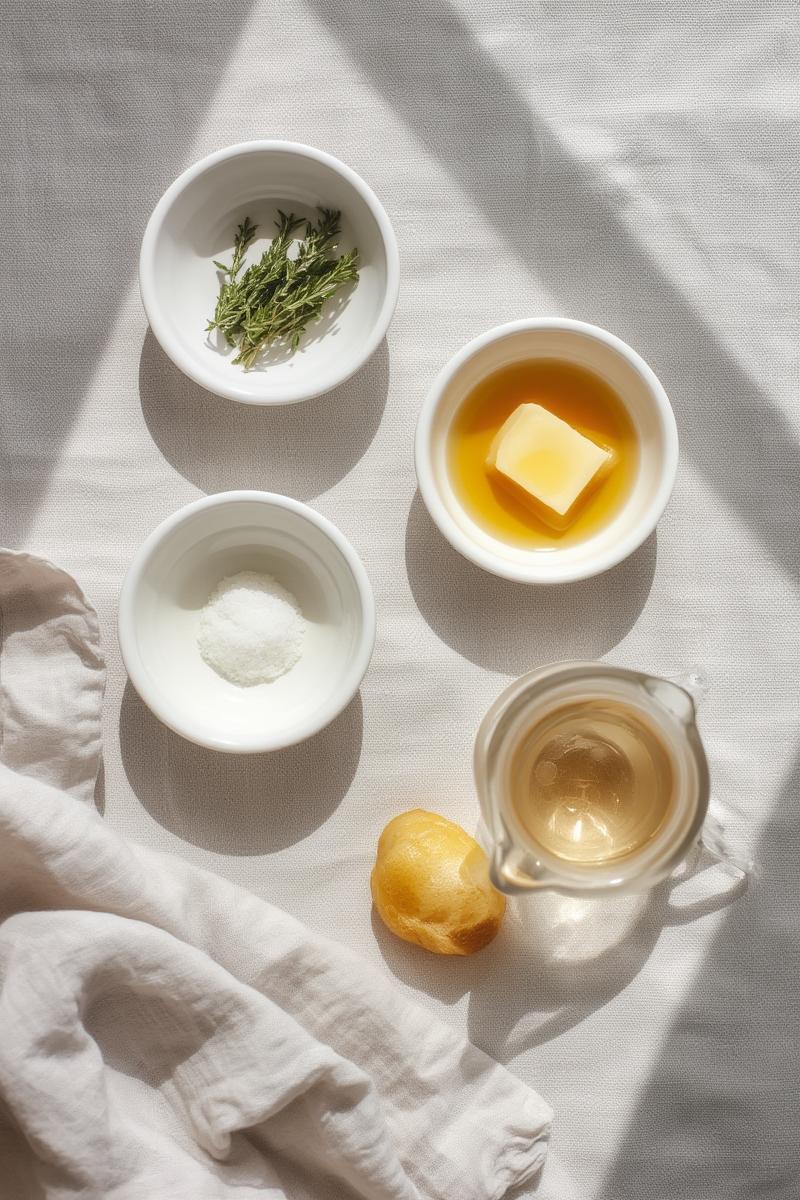
Broth or Stock-Based Sauces
No drippings? No problem! Gently warm some chicken or vegetable broth, add a squeeze of lemon, a touch of herbs, maybe a spoon of Dijon mustard or a sprinkle of paprika. Pour it over the chicken right before serving or simmer the sliced chicken gently in it for a few minutes.
Creamy or Cheese Sauces
For a richer rescue, a creamy mushroom sauce, a classic béchamel, or even a simple cheese sauce (think a lighter cheddar or Parmesan cream) can work wonders. The fat in the cream and cheese masks the dryness and adds incredible flavor. Just remember, a little goes a long way!
Steaming & Simmering: Reintroducing Moisture
This method works best for sliced or shredded chicken, allowing the moisture to truly penetrate the meat.
Quick Broth Bath
Slice your dry chicken and place it in a shallow pan with a little chicken broth. Bring it to a gentle simmer over low heat, cover, and let it warm through for a few minutes until it absorbs some of that liquid. Be careful not to cook it further!
Gentle Steam Reheat
Place slices of chicken in a steamer basket over simmering water, or even in a microwave-safe dish with a tablespoon of water, covered tightly. Heat until just warmed through. The steam helps rehydrate without overcooking.
Repurposing & Reinventing: Beyond the Plate
Sometimes, the best solution is a delicious disguise! Shredding and re-envisioning your chicken dinner can turn a disappointment into a triumph.
Shredded Chicken for Tacos, Soups, or Casseroles
This is my go-to! Shred the dry chicken, then toss it with a flavorful sauce (BBQ, buffalo, salsa) and use it in tacos, burritos, or quesad. It’s also perfect for adding to a simmering soup, where it can absorb all those lovely brothy flavors, or as a filling for a creamy casserole.
Chicken Salad Transformation
Dice or shred the chicken, then mix it with a generous amount of mayonnaise or Greek yogurt, celery, herbs, and your favorite seasonings. The creamy dressing coats every piece, making the dryness disappear. It’s perfect for sandwiches or lettuce wraps!
Adding to Pasta Dishes
Toss sliced or shredded chicken into a warm pasta dish with plenty of sauce — pesto, marinara, or a creamy Alfredo. The pasta sauce will generously coat the chicken, preventing any dry spots from ruining your meal.
Fat & Moisture Infusion: A Quick Fix
Sometimes a little extra richness is all you need.
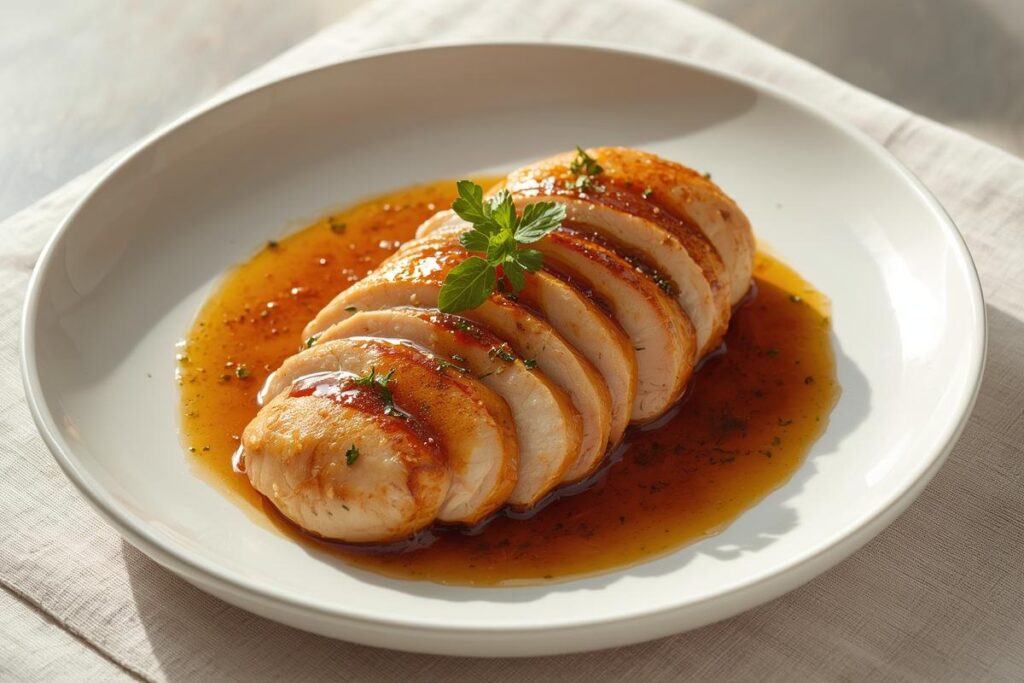
Butter or Oil Glaze
Gently melt some butter or warm a good olive oil, then brush it generously over your sliced chicken before serving. It adds a lovely sheen, richness, and, of course, moisture.
Mayonnaise or Yogurt Coating (for certain applications)
For chicken you plan to reheat or perhaps use in a quick bake, a thin coating of mayonnaise or even plain yogurt can add moisture and flavor, helping it stay tender. Think about using this if you’re making a chicken sandwich or quick chicken melt.
Sustainability Tip: Don’t toss those chicken scraps or bones! They’re perfect for making a rich, flavorful broth that you can use for future sauces or soups.
Foolproof Future: How to Guarantee Juicier Chicken Every Time
Now that we’ve mastered the art of rescue, let’s talk prevention. These techniques are my secret weapons for consistently juicy chicken, no matter the cut or cooking method.
The Power of Brining (Wet or Dry)
Brining is a game-changer! It’s like giving your chicken a hydrating spa treatment before it cooks.
Simple Dry Brine Method (for crispy skin and flavor)
For bone-in, skin-on chicken (like a whole bird or crispy baked chicken thighs), a dry brine is fantastic. Simply rub the chicken liberally with salt (about 1/2 to 1 teaspoon per pound) and a little black pepper, then refrigerate uncovered for at least 4 hours, or preferably overnight. The salt draws out moisture, then reabsorbs it, tenderizing the meat and crisping the skin like magic.
Classic Wet Brine for Maximum Moisture
Dissolve 1/4 cup salt in 4 cups of water (add sugar, herbs, or spices if you like). Submerge chicken pieces completely and refrigerate for 30 minutes to 4 hours, depending on the size. Rinse thoroughly before cooking to avoid overly salty chicken.
Marinating for Flavor and Tenderness
Marinades not only infuse flavor but also help break down tough fibers, making chicken more tender and resilient to drying out.
Acid-Based Marinades (yogurt, citrus)
Yogurt, buttermilk, lemon juice, or vinegar are excellent tenderizers. The acid gently denatures proteins, allowing the chicken to absorb more moisture and flavor. Marinate for 30 minutes to 2 hours; too long with strong acids can make chicken mushy.
Oil-Based Marinades
Olive oil, avocado oil, or even sesame oil can carry flavors beautifully and coat the chicken, providing a protective barrier against heat. Combine with herbs, spices, garlic, and a touch of acid.
Precision Cooking: Temperature is Key
Your meat thermometer is your best friend. Seriously, it’s a small investment that pays off in perfectly cooked meat every single time.
Using a Meat Thermometer
Insert the thermometer into the thickest part of the chicken, avoiding bones. This gives you an accurate reading of the internal temperature, which is the true indicator of doneness.
Optimal Internal Temperatures
For chicken, aim for 165°F (74°C). This is the safe temperature for poultry. However, I often pull leaner cuts like breasts off the heat a few degrees lower, knowing that carryover cooking will take them to 165°F.
The Carryover Cooking Effect
Remember that the chicken continues to cook for a few minutes after it’s removed from the heat. For larger pieces, the temperature can rise by 5-10°F. Account for this by pulling your chicken slightly early.
The Art of Resting: Don’t Skip It!
After cooking, transfer your chicken to a cutting board or platter, tent it loosely with foil, and let it rest for 5-10 minutes for smaller pieces (breasts, thighs) and 10-20 minutes for a whole chicken. This allows the juices to settle back into the meat, ensuring every bite is moist and tender.
Choosing the Right Cut & Cooking Method
Different cuts shine with different cooking approaches.
Bone-in, Skin-on for Roasting
The bone helps conduct heat more evenly, and the skin provides a protective layer of fat that bastes the meat as it cooks. These cuts are much more forgiving.
Lower & Slower for Breasts
For boneless, skinless breasts, consider poaching, pan-searing quickly, or baking at a slightly lower temperature (like 375°F/190°C) for a shorter time. Keep an eye on that thermometer!
High Heat Searing for Thighs
Chicken thighs, with their richer fat content, can handle higher heat and longer cooking times. Searing them at a higher temperature creates a beautiful crust while keeping them incredibly juicy inside.
Basting & Covering: Moisture Retention Hacks
A little extra attention during cooking can make all the difference.
- Basting: Regularly brush or spoon pan juices, broth, or melted butter over roasting chicken to keep the surface moist and flavorful.
- Covering: For longer roasts, cover the chicken loosely with foil for part of the cooking time to trap steam and prevent the exterior from drying out before the interior is cooked. Remove the foil for the last 15-20 minutes to allow for browning.
Your Juiciest Chicken Journey Starts Now
Recap of Key Takeaways
You’ve got this! Remember these golden rules: don’t overcook (use a thermometer!), embrace brining or marinating, always rest your chicken, and choose the right cut and method for your meal. A little planning and attention can prevent those dry chicken woes forever.
Embrace the Learning Curve
Cooking is a journey, not a destination. Every meal is an opportunity to learn and grow, even if the occasional chicken decides to be difficult. Don’t be afraid to experiment with these tips, try out new marinades, or simply play around with what you have on hand. It’s all about finding what works best for you and your kitchen. If you ever feel like a kitchen adventure, perhaps trying a viral chocolate bark or a delightful upside-down puff pastry tart could be your next triumph!
I am genuinely curious to hear about your juiciest chicken successes! Which of these tips made the biggest difference for you, or did you add your own creative twist to bring your chicken back to life?