
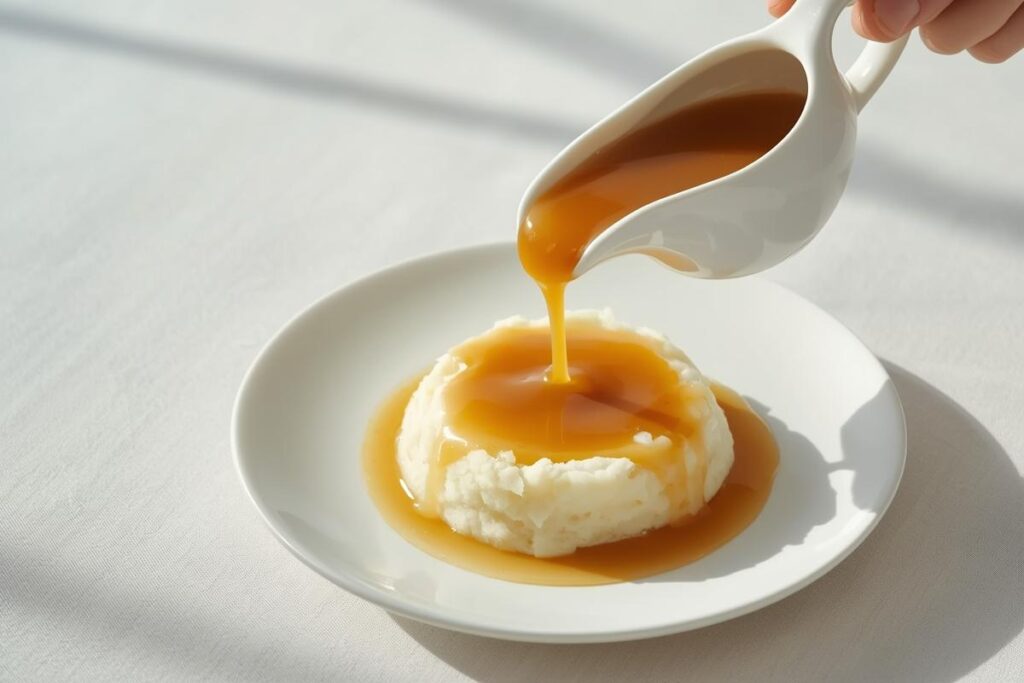
Fixing lumpy gluten-free gravy quickly is a common kitchen dilemma many home cooks face. This guide provides immediate, actionable solutions for that smooth, perfect gravy every time. You’ll learn both quick fixes and foolproof prevention techniques, ensuring a delicious outcome for any dinner.
The Gravy Disaster: When Smooth Dreams Turn Lumpy Nightmares
I still vividly remember one Thanksgiving, the kitchen buzzing with the aromas of roasted turkey and warm spices. I’d just pulled the gorgeous bird from the oven, its juices pooling, ready to become the most glorious gravy. My heart was set on a silky, gluten-free triumph. But as I whisked in my carefully prepared slurry, a familiar dread began to creep in. Lumps. Not small, forgivable specks, but defiant, stubborn little islands floating in what should have been a luscious sea. Panic set in – a full-blown gravy catastrophe on the most important dinner of the year! My usually calm kitchen turned into a rescue mission zone. That day, I learned some invaluable, on-the-fly lessons that I’m excited to share, transforming gravy nightmares into smooth, flavorful dreams.
Unmasking the Lumps: Why Gluten-Free Gravy Goes Rogue
Understanding why your gravy might be lumpy is the first step to conquering the issue. Gluten-free thickeners, while wonderful, behave a little differently than traditional wheat flour, demanding a slightly different approach.
The Gluten-Free Thickener Conundrum (Flour, Starch, Roux)
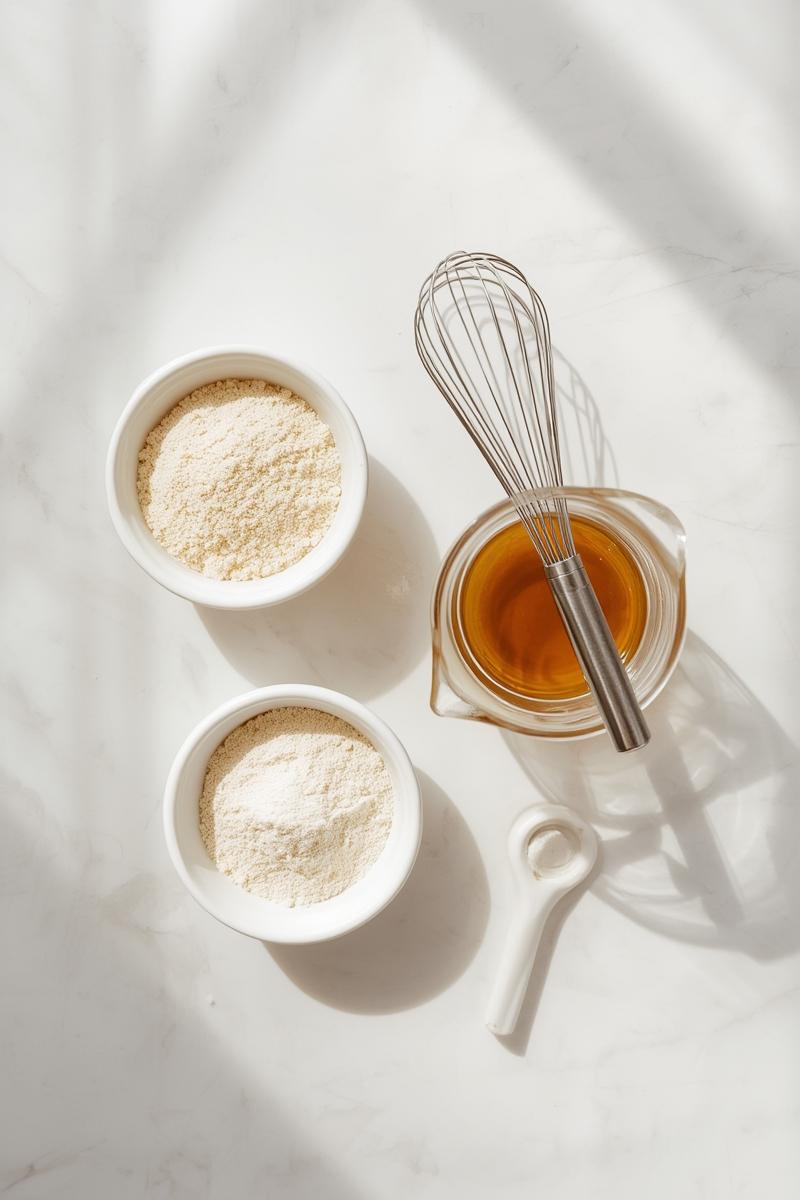
When we talk about gluten-free thickeners, we’re usually thinking about cornstarch, arrowroot powder, tapioca starch, or a gluten-free flour blend. Each has its nuances. Cornstarch and arrowroot, for instance, are pure starches and create a glossy, often translucent gravy. They thicken quickly but can clump if not properly dispersed. Gluten-free flour blends, on the other hand, contain various starches and gums, and while they can create a more opaque, traditional-looking gravy, they also have a higher tendency to clump and can sometimes leave a raw, starchy taste if not cooked thoroughly.
Temperature Tango: Too Hot, Too Cold, Just Right
Temperature plays a huge role. Adding a dry thickener directly to hot liquid is practically an invitation for lumps. The dry particles immediately gelatinize on the outside, creating a barrier that prevents the inside from hydrating properly. Similarly, if your liquid isn’t warm enough, the thickener won’t activate, leaving you with a watery, grainy mess.
The Whisking Fails: Not Enough Agitation
Sometimes, it’s as simple as not whisking enough, or not whisking vigorously enough. When you add your thickener, especially starches, they need constant, even agitation to disperse evenly throughout the liquid. A gentle stir often isn’t enough to break up the initial clumps before they set.
Under-cooking the Thickener: The Grainy Suspect
If your gravy tastes raw or grainy, chances are your thickener, especially gluten-free flour, hasn’t had enough time to cook out. Starches need to reach a certain temperature and cook for a specific duration to fully hydrate and lose their raw flavor, resulting in a smooth, clear consistency.
Kitchen Reality Check: Don’t Panic!
Even the most seasoned home cooks face a lumpy gravy now and then – it’s a badge of honor for anyone who dares to create in the kitchen! If your gravy looks like it’s hosting a tiny, granular island convention, take a deep breath. No need to throw it out; we have some brilliant fixes up our sleeves. Think of it as a moment for kitchen improvisation, a chance to adapt and still create something wonderful!
Gravy SOS! Instant Fixes for Lumpy Disasters
A lumpy gravy doesn’t have to ruin your meal. Here are some immediate, actionable steps to turn that bumpy situation into a smooth success.
The Whisk-a-Thon: Manual Smoothness
Before you reach for any tools, try a vigorous whisking session. Remove the gravy from the heat and whisk, whisk, whisk! Often, smaller lumps can be broken down with persistent, firm agitation. Use a balloon whisk and really get into every corner of the pot. Sometimes, a burst of energy is all it takes to smooth things out.
Sieve & Strain: The Quickest Rescue
This is my go-to, no-fail method for truly stubborn lumps. Simply pour your lumpy gravy through a fine-mesh sieve or strainer into a clean pot or bowl. Use the back of a spoon or a flexible spatula to press any remaining gravy through, leaving the lumps behind. It’s shockingly effective and makes your gravy instantly silky. If you’re also wrestling with other kitchen challenges, check out our tips on how to rescue dry, overcooked chicken – similar problem-solving, different ingredients!
Blender or Immersion Blender Magic
For the ultimate smooth finish, especially if you have a lot of lumps, a blender is your best friend. Carefully transfer the gravy to a regular blender (be cautious with hot liquids – vent the lid!) or use an immersion blender directly in the pot. Blend until completely smooth. This method works like a charm, pulverizing every last lump into submission.
The Cold Slurry Re-do: Adding More Thickener Smoothly
If your gravy is lumpy and not thick enough, you can add more thickener, but do it correctly. Whisk a small amount of your chosen gluten-free thickener (cornstarch or arrowroot is best here) with an equal amount of cold liquid (water, broth, or even milk) until completely smooth. This is your new “slurry.” Slowly drizzle this slurry into your hot, previously strained gravy while whisking constantly. Bring it back to a gentle simmer for a minute or two, stirring, until it thickens to your desired consistency.
Smooth Sailing: Foolproof Strategies for Lump-Free Gravy
Prevention is always better than cure, and with these techniques, you’ll be well on your way to perfectly smooth gluten-free gravy every single time.
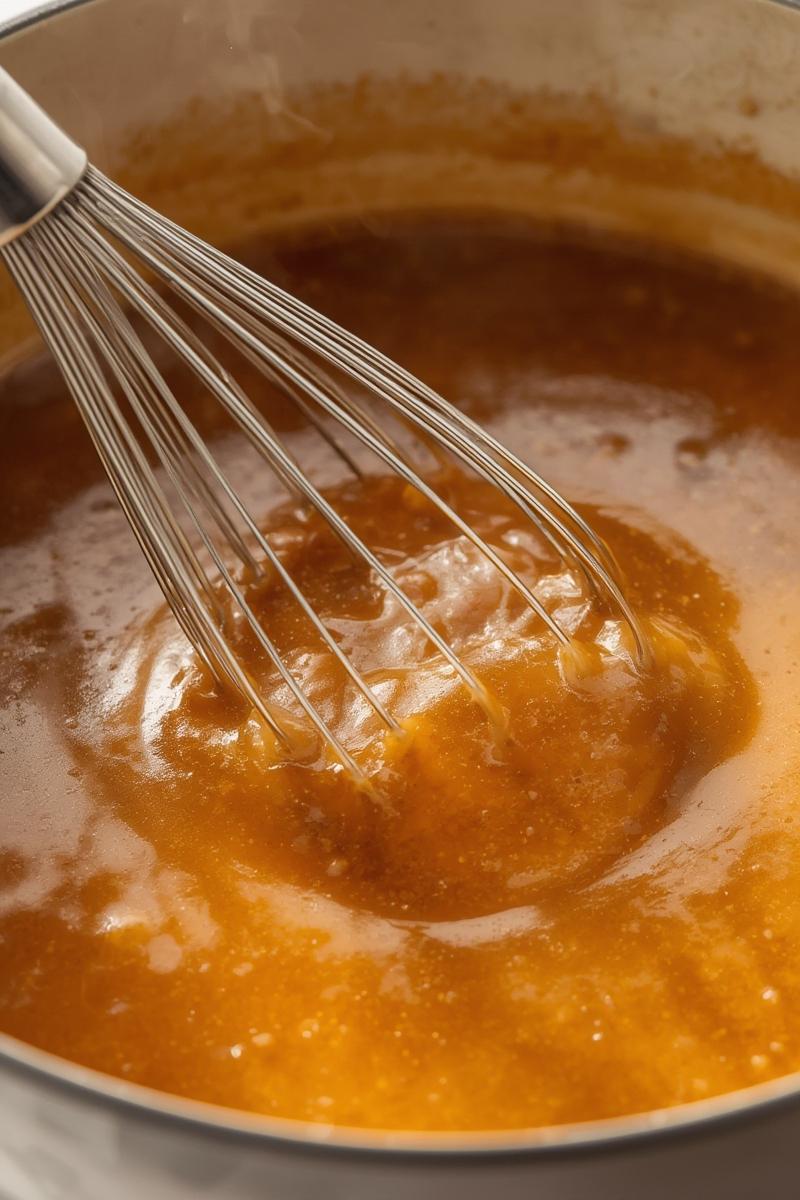
Mastering the Gluten-Free Roux: Golden Rules
For gravies starting with a roux (fat + thickener), the key is patience and constant stirring. Melt your fat (butter, pan drippings), then sprinkle in your gluten-free flour blend. Whisk continuously over medium heat for several minutes until it forms a smooth paste and smells toasty, like popcorn. This cooks out the raw starch flavor and ensures the flour is fully incorporated before any liquid is added.
Slurry Savvy: The Cold Liquid Advantage
Whether you’re using cornstarch, arrowroot, or tapioca, always create a slurry. This means whisking the thickener with an equal amount (or slightly more) of cold liquid until it’s perfectly smooth before adding it to your hot gravy. The cold liquid prevents the starch from clumping prematurely. Think of it as a little pre-hydration spa for your thickener!
Gradual Introduction & Constant Whisking
Once your gravy base is simmering gently, slowly drizzle your slurry into the hot liquid in a thin stream. As you do this, whisk vigorously and continuously. The gradual addition allows the starch to disperse evenly, and the constant whisking ensures it never has a chance to clump. Keep whisking for about 30 seconds after all the slurry is added.
The Perfect Simmer: Cooking to Thick Perfection
After adding your slurry, continue to whisk occasionally and bring the gravy to a gentle simmer. Allow it to simmer for at least 1-2 minutes, or even a bit longer for gluten-free flour blends, to allow the thickener to fully activate and cook out any raw taste. The gravy should visibly thicken as it simmers. Remember that cornstarch and arrowroot will thicken quite rapidly, while flour blends might take a touch longer.
Choosing Your GF Thickener Wisely
Market Note: When selecting your gluten-free thickener, think about the end result. For a clear, glossy gravy, cornstarch or arrowroot is excellent. Look for finely milled, pure powders without any additives. For a more opaque, traditional-looking gravy, a good quality all-purpose gluten-free flour blend works well – ensure it contains xanthan gum for better texture. Experiment to find your favorite! Each will give a slightly different mouthfeel, so play around to see what you enjoy most.
Your Silky Smooth Gravy Awaits!
There you have it – a comprehensive guide to banishing lumpy gluten-free gravy from your kitchen forever! From understanding the science behind the lumps to implementing immediate fixes and foolproof prevention strategies, you’re now equipped to create the silkiest, most delicious gravy for any meal. These principles apply to so many kitchen situations, whether you’re whipping up sticky beef noodles or a hearty stew!
Recap and Confidence Boost
Remember, cooking is an adventure, and a few lumps are just part of the journey. Embrace the whisk, don’t fear the sieve, and always keep that immersion blender handy! With a little patience and these trusted techniques, you’ll be serving up gravy that tastes as incredible as it looks.
After mastering your gravy, you might even have room for a special treat, perhaps our healthy no-churn cottage cheese ice cream! Oh, and before I forget, a quick tip for sustainability: any leftover gravy can be frozen in ice cube trays, then transferred to a freezer bag for future use in soups or casseroles, reducing food waste!
What’s your go-to “secret weapon” for fixing lumpy gravy, or do you have a favorite gluten-free thickener you swear by? I’d love to know if you tried any of these tips and added your own twist to make your gravy perfect!